 e-Bay PCB Thermal Transfer Paper
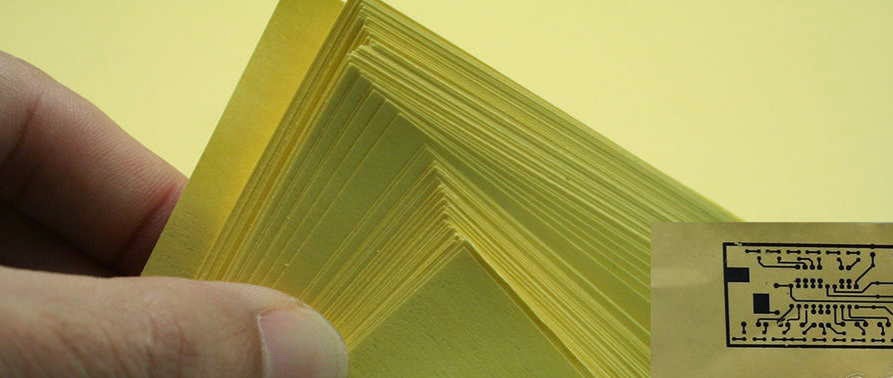 This past weekend I had the first opportunity to try my e-Bay purchased thermal transfer paper. It was to be used in my iron-on PCB work as a hopeful improvement over what I had been using...just ordinary printer paper. Supposedly the shiny photo quality papers were proving to be good performers but are expensive. Some have reported good results with glossy magazine paper but my one experience with that was not a pleasant one. Unknowingly, when I had removed the magazine page, a small amount of the sticky adhesive used in the binding process was still on the sheet. Running it through the printer caused it to melt and smear some of the laser cartridge's toner and for the next several weeks, any printing I did had a slight black streak along one edge...doh!
 My new paper from China (free shipping!) was pretty inexpensive and if it offered even a slight improvement, would be well worthwhile. This first use of the paper would be a circuit board for my earlier test-bed GW3UEP 630m transmitter. I had finished designing a PC pattern for it, using MS Paint, and was anxious to see the results.
 |
| Courtesy: http://www.gw3uep.ukfsn.org/ |
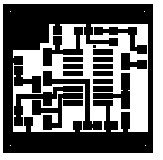
I know that a lot of folks turn up their noses at MS Paint but I have always found it to be a very versatile piece of software and have used it for making PC layouts for many years. I also use it for drawing all of the schematics appearing on my website.
After printing the pattern (printer set for maximum resolution and darkest print) and ironing-on the pattern , I allowed the board to cool for several minutes before immersing it, along with the now firmly attached yellow paper, into cold water. The first thing I noticed was how easily the paper came away from the board. It actually 'un-peeled', much like a good quality price tag sticker...you know.... the ones that don't take forever and come off in tiny bits and pieces. It peeled off smoothly with no paper residue left on the board. This was a huge improvement already. There were just a few traces of toner left on the paper as almost all had been transferred to the board.
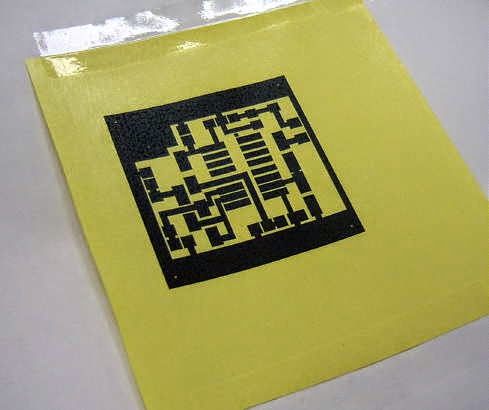 Once dried, a close examination revealed that I had pressed a little too hard with the iron and there was some evidence of 'squeeze-out' along the edges of some lines. I also found one or two very small thinner areas that probably required going over with a permanent-ink black marker pen just to make sure that those spots did not get etched. Over all I was extremely pleased with the paper and will be using it from now on.
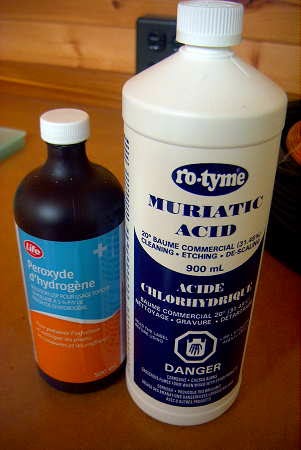
Another recent change in my PC etching regime has been a switch from the old Ferric Chloride standby to a combination of Hydrogen Peroxide and Muriatic acid. Not only does it seem to etch more cleanly (no undercutting) but it also etches very quickly and without any solution warming needed. This board was completely etched in just over 4 minutes.
The chemicals used in this method are inexpensive and are readily available at the drugstore and at the hardware store. There are numerous web-descriptions of this particular etching process but this site seems to cover the basics nicely.
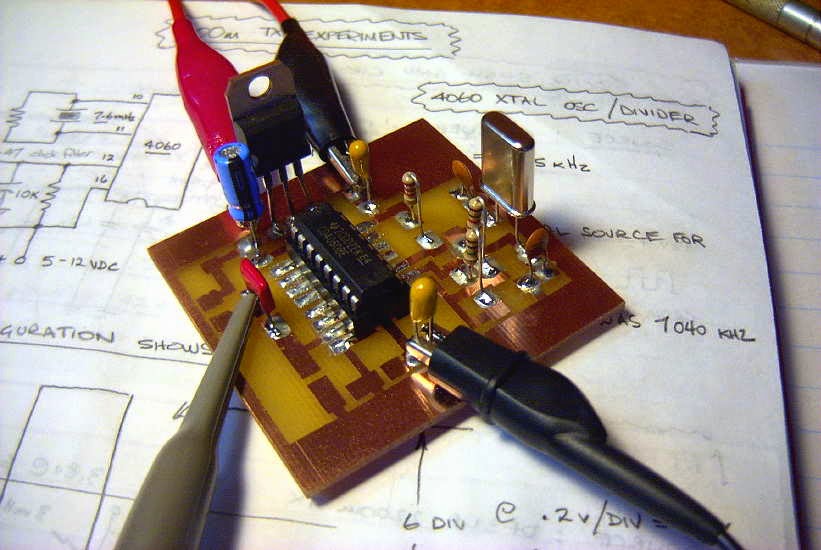
The completed board turned out as shown here:
The CD4060 not only functions as a crystal oscillator but also as a versatile frequency divider. As well as fundamental frequency output, ten different 'divide-by' functions are available depending in which output pin is chosen. These range from divide-by 16,384 to divide-by 16. This circuit uses the latter, dividing the 7.6 MHz crystal down to 475 kHz at pin 7.
In summary, I can highly recommend the e-Bay yellow thermal transfer paper when used for this method of making PCB's and is much cheaper than buying photo-quality printing paper.




Tnx for that Steve – very informative and useful. 73. Phil ZL2OWL.
Very Nice!
I bought two packs of that paper a few months
ago but I have not tried it yet.
73 Mike
Tnx Phil!
Mike…sounds like you have a lifetime supply.
73 & happy homebrewing