 |
 LHS Episode #350: Another Ones Bites the Dust

Come in, come in! You're here for the 350th installment of Linux in the Ham Shack. In this short-format show, we talk about the cancellation of yet another big hamfest, a new organization for amateur radio on the ISS, the demise of a well-known SDR platform, Space-X, Creative Commons music, security apps for mobile devices and much more. Thank you for listening and have an excellent week.
73 de The LHS Crew
Russ Woodman, K5TUX, co-hosts the Linux in the Ham Shack podcast which is available for download in both MP3 and OGG audio format. Contact him at [email protected].
QSO from the Pemi – Perfect Day
Some days are too perfect to pass up. Today was one of those. I took a quick afternoon bike ride along the Pemigewasset River and worked WA1ASU in Virginia.

It’s a gorgeous sunny day… about 72F. There’s enough breeze to keep the mosquitoes away. Late in the afternoon I took my bike down to the trail along the river. I rode north for about 20 minutes. I stopped at a sharp corner underneath a giant pine tree. It’s just in front of my bike pictured below. The tree must be 100 feet tall.

I tossed a line about 45 feet over a branch. I pulled up my wire and sat on the ground at the edge of the trail with the KX3 in front of me. It didn’t take long to find Hank, WA1ASU calling CQ on 20 meters. He was strong and answered me right away from Virginia. We chatted for almost 15 minutes while I took in the beautiful river view.

Hank was running 50 watts to a Kenwood rig. “Your KX3 is doing a FB job,” he sent before we closed.
It’s so great to get out and enjoy the beautiful spring weather. A quick QRP contact makes the day perfect.
Jim Cluett, W1PID, is a regular contributor to AmateurRadio.com and writes from New Hampshire, USA. Contact him at [email protected].
Weekly Propagation Summary – 2020 Jun 08 16:10 UTC
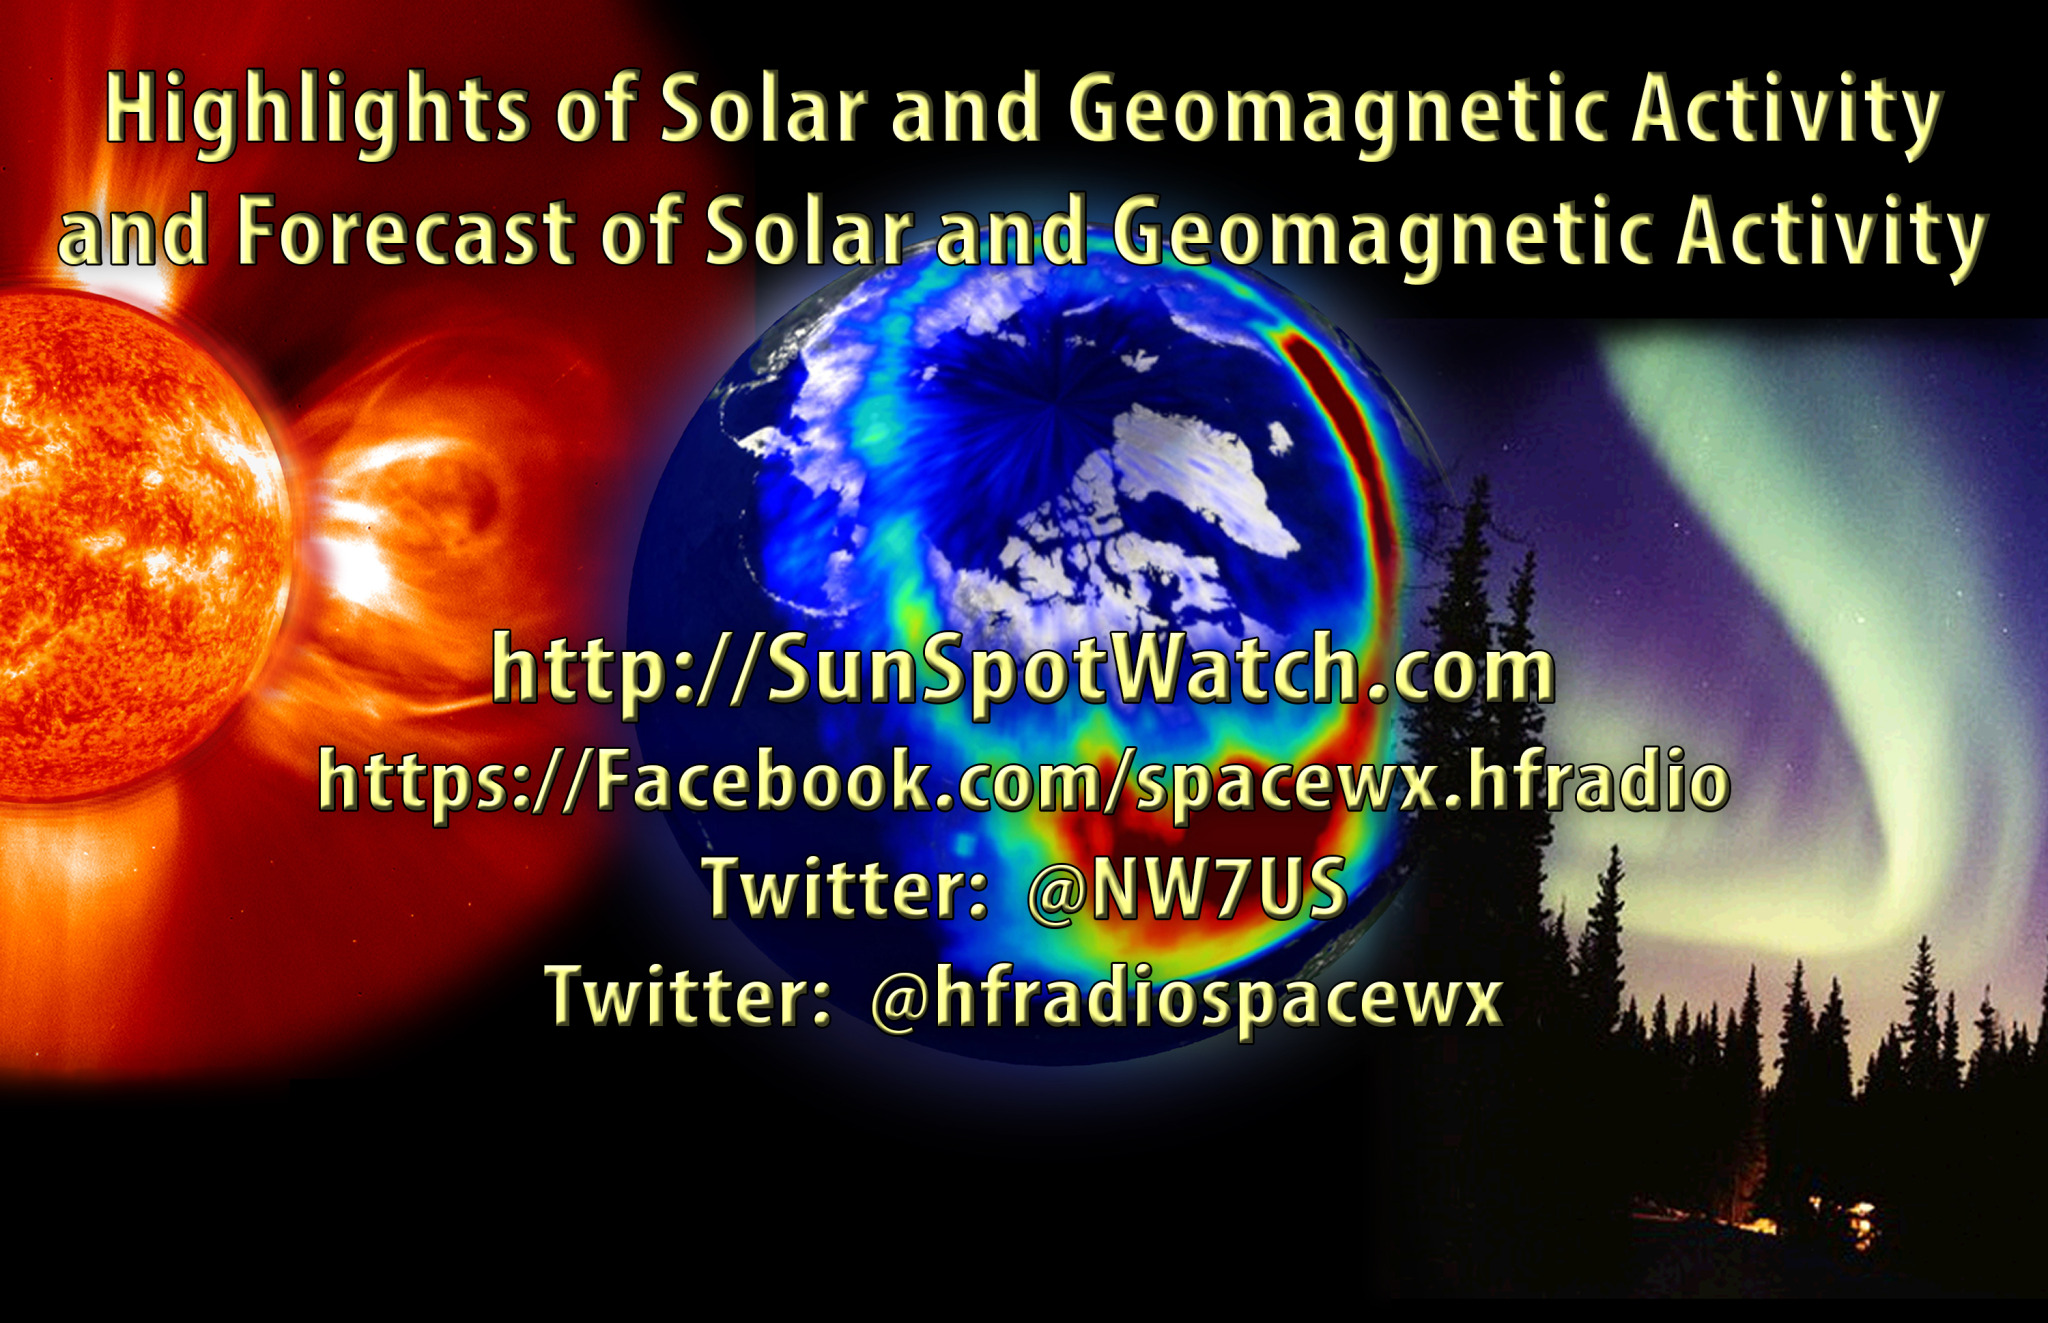
Here is this week’s space weather and geophysical report, issued 2020 Jun 08 0136 UTC.
Highlights of Solar and Geomagnetic Activity 01 – 07 June 2020
Solar activity was at very low levels with numerous B-class flares observed from new Region 2765 (S24, L=116, class/area Cao/130 on 05 Jun). This reverse polarity region was mostly stable since it rotated onto the disk on 03 Jun. No Earth-directed CMEs were observed during the period.
No proton events were observed at geosynchronous orbit.
The greater than 2 MeV electron flux at geosynchronous orbit was at normal to moderate levels through the period.
Geomagnetic field activity was at mostly quiet levels, with some isolated unsettled periods late on 01 Jun through early 02 Jun. A nominal solar wind environment was prevalent with wind speeds ranging from 300-400 km/s, total field (Bt) 5 nT or less and the Bz component mostly neutral.
Solar wind parameters became enhanced after midday on 07 Jun. Wind speeds increased to near 475 km/s, Bt reached a maximum of 13 nT and Bz reached a maximum southward extent of -8 nT. A suspected weak, positive polarity CH HSS resulted in this enhanced wind environment. The geomagnetic field reacted with unsettled to active conditions the last half of 07 Jun.
Forecast of Solar and Geomagnetic Activity 08 June – 04 July 2020
Solar activity is expected to be at mostly very low levels. A slight chance of low level activity exists through 15 Jun while Region 2765 remains on the visible disk. Very low levels will then persist through 28 Jun. Old Region 2765 (S24, L=116) is expected to return after 28 Jun with a possible increase in low level flare activity to a slight chance.
No proton events are expected at geosynchronous orbit.
The greater than 2 MeV electron flux at geosynchronous orbit is expected to be at normal to moderate levels through the outlook period.
Geomagnetic field activity is expected to be at unsettled to isolated active levels on 08 Jun due to influence from a weak, positive polarity CH HSS. From 09 Jun to 04 Jul, mostly quiet levels are anticipated.
Don’t forget to visit our live space weather and radio propagation web site, at: http://SunSpotWatch.com/
Live Aurora mapping is at http://aurora.sunspotwatch.com/
If you are on Twitter, please follow these two users: 1. https://Twitter.com/NW7US 2. https://Twitter.com/hfradiospacewx
– – – – – – – – – – – – –
Be sure to subscribe to our space weather and propagation email group, on Groups.io
https://groups.io/g/propagation-and-space-weather
Spread the word!
– – – – – – – – – – – – –
Links of interest:
+ Amazon space weather books: http://g.nw7us.us/fbssw-aSWSC
+ https://Twitter.com/NW7US
+ https://Twitter.com/hfradiospacewx
Space Weather and Ham Radio YouTube Channel News:
I am working on launching a YouTube channel overhaul, that includes series of videos about space weather, radio signal propagation, and more.
Additionally, I am working on improving the educational efforts via the email, Facebook, YouTube, Tumblr, and other activities.
You can help!
Please consider becoming a Patron of these space weather and radio communications services, beginning with the YouTube channel:
https://www.patreon.com/NW7US
The YouTube channel:
https://YouTube.com/NW7US
..
Visit, subscribe: NW7US Radio Communications and Propagation YouTube Channel
Sundayday’s of learning was interrupted
Mike Weir, VE9KK, is a regular contributor to AmateurRadio.com and writes from New Brunswick, Canada. Contact him at [email protected].
ICQ Podcast Episode 326 – The Futures of Ham Radio
In this episode, Martin M1MRB is joined by Chris Howard M0TCH, Martin Rothwell M0SGL, Ed Durrant DD5LP, Frank Howell K4FMH and Bill Barnes WC3B to discuss the latest Amateur / Ham Radio news. Colin M6BOY rounds up the news in brief and this episode’s feature is The Futures of Ham Radio.
ICQ AMATEUR/HAM RADIO PODCAST DONORS
We would like to thank Kevin Strishock (N3KA), Michael Street (G3JKX), Lizzy Cannon (G0MDL) and Billy Kemp and our monthly and annual subscription donors for keeping the podcast advert free. To donate, please visit - http://www.icqpodcast.com/donate
- Record Numbers to take UK Foundation Exam - Ham Radio Operators still Transmitting - FT8 Used for Moonbounce (EME) Contact - AO-27 Returns from the Dead - Next Ham Heading to Space Station after Historic Launch - ARISS Establishes Itself as an Independent Organization - APRS Payload Balloons to Race Across North America in Educational Challenge - GQRP Club Online
Colin Butler, M6BOY, is the host of the ICQ Podcast, a weekly radio show about Amateur Radio. Contact him at [email protected].
The Joys Of ERP
The following blog was originally published four years ago and with the ever-growing number of new 630m stations, some may find the information helpful.
****************************************
Amateurs and and U.S. experimental licence holders operating on the LF and MF bands, are limited in the amount of power they are legally able to run. Unlike the HF bands, where maximum power limits are expressed in either DC power input or PEP output, LF and MF operators are required to observe ERP or EIRP limitations. Canadians operating on 2200m are limited to 1W EIRP and to 5W EIRP on 630m.
Although this doesn't sound like much, mustering this amount of effective power can be quite a task on either band, especially on 2200m. This is due to the very poor efficiencies encountered when using antennas that are so small in size compared with what would be considered 'normal'. For example, a typical 1/4 wave vertical used on 40m is about 33' high and with a good radial system can achieve efficiencies in the 80% range, while the equivalent antenna for 2200m would be 550m or about 1800' high ... a little large for most suburban backyards!
The equivalent of a normal 2m 'rubber-ducky' antenna when built for 2200m would be over 600' tall, while one designed for 630m would be around 170' high! A 2" stub used on your 2m hand-held would be the same as a 56' vertical on 630m. Consequently, most LF / MF backyard antennas will realize efficiencies of less than 1% and likely, quite a bit less.
In order to reach the maximum radiated power levels allowed usually requires several hundreds of watts, especially on 2200m, where near kilowatt levels are needed. These small radiated power levels might seem discouraging but they don't account for radio's great equalizer ... propagation. More than anything else, RF loves to radiate, and at times, what can be achieved on these bands with such low effective radiated powers is stunning
It would seem that Industry Canada did us no favors when they stipulated LF / MF power levels to be measured in EIRP and not the, much easier to calculate, DC power input level ... or perhaps they did. I think that, unlike on HF, imposing EIRP rather than DC input power limits puts everyone on an even playing field. Amateurs with lots of real estate and room for a larger, more efficient LF antenna, will be required to run much less power to reach the allowable EIRP and 'stay legal', compared to someone with a small backyard in the suburbs ... the latter can legally generate the higher level of DC input power required to reach the EIRP limits since their smaller antenna is operating at less efficiency. However, determining EIRP is not as cut and dried as measuring input power.
With some fairly sophisticated (ie. expensive) field strength measuring equipment, not typically found in amateur radio operations, ERP / EIRP can be readily determined. This means that for most amateurs, alternate methods must be used.
Neil, WØYSE in Vancouver, Washington, who runs an experimental 630m station under the call of WG2XSV, has produced an excellent treatise on calculating your station's EIRP level, providing a step-by-step procedure to follow.
In order to determine your ERP / EIRP, you must first determine your antenna's radiation resistance. Two methods of calculating the antenna's radiation resistance for both verticals and top-loaded verticals (inverted L's or T's) are demonstrated, using the physical size of the antenna in relation to the frequency of operation. Once this value is known, the antenna current is measured while transmitting. These two values allow the Total Radiated Power (TRP) to be calculated. The TRP is then multiplied by 3 to yield the EIRP or by 1.82 for ERP. Roughly speaking, 5W EIRP is the equivalent of 3W ERP. Thanks to Neil for this helpful resource.
An alternate method of roughly determining ERP / EIRP values is an interesting new online 'antenna simulator' at the 472kHz.org site. Using known physical sizes along with your ground quality description, the calculator will indicate what total power output is required to produce various levels of ERP and EIRP as well as expected antenna currents, at 472kHz. It's a good starting point if you are either planning a new antenna system or perhaps, repurposing an HF antenna such as an 80m inverted-L or an HF center-fed dipole for use on 630m.
Neil has also sent the following comments that will be of interest to those planning a sloping-wire tophat:
Hi Steve,
I'm sure there will be a lot more information and discussion about this topic once the LF and MF bands are released in the U.S.A. but in the meantime, calculating your ERP / EIRP levels is not as hard as it might initially seem ... and is likely accurate enough for most agencies overseeing amateur radio activities.
Steve McDonald, VE7SL, is a regular contributor to AmateurRadio.com and writes from British Columbia, Canada. Contact him at [email protected].
Configure a Pi-Star based multi network DMR hotspot
Often when people create a DMR hotspot they set them up for only one network. But if they want to use DMR+ one moment, then Brandmeister the next and then later talk with someone on the TGIF network they will need to switch back and forth depending on which network they want to use. Switching back and forth between networks works well. But this involves loading the configuration for the network that you want to use. But what if you want to be able to use multiple networks at the same time? This can easily be done by configuring the following within your Pi-Star settings. You will also need to update the code plug within your radio. But once you have everything setup you will be able to go from Brandmeister to DMR+ to TGIF all within the radio. No need to change the configuration within your hotspot.
Hotspot Setup
To get started, first you will want to backup your configuration. This way if something goes wrong you will be able to get back to where you started. Next, in pi-star click on configuration, then Expert, then in the Full Edit row click on DMR GW. You will want to configure the various DMR Networks. Cut and paste the following into the section showing your DMR networks in the expert configuration file. Be sure to modify the proper sections with your DMR ID etc otherwise the network will not let you connect. Your DMR network sections should look exactly like my examples below except for the following: DMR Network 1 – you will need to enter your Brandmeister Hotspot Security Password between the quotes and your DMR ID where it is called for. You may also want to change your Brandmeister master server to the one closest to your physical location however it probably won’t really make much of a difference in performance. The Canadian server works quite well and has very low latency from just about anywhere. It also has fewer users than other servers so you may actually find it works a little better. In DMR Network 2 you need to enter your DMR ID where it is called for. I suggest keeping the IPSC2 server as IPSC2-QuadNet. Full disclosure, I am an admin and founding member with QuadNet so I am probably a little biased. IPSC2-QuadNet is the server that we run and one that we can make sure works and works well. If there is a problem, we fix it. If our users have an issue we can try to help We can’t say the same about other servers. That being said you can use any IPSC2 server that you prefer. If you select a different server you may find that talkgroups may not work as expected but you can contact the server owner for assistance. The options= line in this section is configured with the most active DMR+ talkgroups and is how I have my configuration setup. But you can change these as desired.
DMR Network 3 can be left as is
DMR Network 4 – Enter your DMR ID where it is called for
[DMR Network 1]
Enabled=1
Address=158.69.203.89
Port=62031
TGRewrite0=2,9,2,9,1
TypeRewrite1=1,9990,1,9990
TypeRewrite2=2,9990,2,9990
SrcRewrite0=2,4000,2,9,1001
PassAllPC1=1
PassAllPC2=2
PassAllTG1=1
PassAllTG2=2
Password=”Enter your BM Hotspot Security Password here”
Debug=0
Name=BM_Canada_3021
Id=Enter your DMR ID here
[DMR Network 2]
Enabled=1
Address=168.235.109.210
Port=55555
TGRewrite0=2,8,2,9,1
TGRewrite1=2,80505,2,505,1
TGRewrite2=2,80800,2,800,100
TGRewrite3=2,83801,2,3801,8
TGRewrite4=2,89990,2,9990,1
TGRewrite5=2,80001,1,1,9999
TGRewrite6=2,80001,2,1,9999
PCRewrite0=2,84000,2,4000,1001
Password=”PASSWORD”
Debug=0
Id=Enter your DMR ID here
Name=DMR+_IPSC2-QUADNET
Options=”TS1_1=1;TS1_2=2;TS1_3=3;TS1_4=13;TS1_5=133;TS1_6=235;TS1_7=315;TS1_8=320″
[DMR Network 3]
Enabled=0
Name=HBLink
Address=1.2.3.4
Port=5555
TGRewrite0=2,11,2,11,1
Password=PASSWORD
Location=0
Debug=0
[DMR Network 4]
Enabled=1
Name=TGIF_Network
PCRewrite1=1,4009990,1,9990,1
PCRewrite2=2,4009990,2,9990,1
TypeRewrite1=1,4009990,1,9990
TypeRewrite2=2,4009990,2,9990
TGRewrite1=1,4000001,1,1,999999
TGRewrite2=2,4000001,2,1,999999
SrcRewrite1=1,9990,1,4009990,1
SrcRewrite2=2,9990,2,4009990,1
SrcRewrite3=1,1,1,4000001,999999
SrcRewrite4=2,1,2,4000001,999999
Address=tgif.network
Password=passw0rd
Port=62031
Location=0
Debug=0
Id=Enter your DMR ID here
Once your DMR Networks are configured as shown in the examples, scroll to the bottom of the page and click on Apply Changes. Next click on Admin, then power, finally click on reboot to restart your hotspot.
Radio Setup
The next thing you will need to do is to configure your radio to work with the new hotspot settings. Each talkgroup you add to your code plug will need to have the proper prefix added except for Brandmeister. BM talkgroups can be used as you always have without a prefix. This should make updating your code plug fairly painless. The other networks you will need to add the prefix as follows:
DMR+ Setup
The DMR+ prefix is 8 and each talkgroup has 4 digits. So to use access the QuadNet Array you would use talkgroup 80320. To program the talkgroup for North America you would use 80003 and so on. The following are the most active DMR+ talkgroups so I converted them to the proper format for you:
80001 – World Wide (All languages)
80002 – Europe
80003 – North America
80013 – World Wide English
80113 – UAE 1 (User Accessible English 1)
80123 – UAE 2 (User Accessible English 2)
80133 – USA Wide
80235 – United Kingdom
80302 – Canada Wide
80315 – QuadNet Technical (Linked to D-STAR)
80320 – QuadNet Array (linked to D-STAR, Brandmeister DMR, Yaesu System Fusion & Wires X
80505 – Australia Wide
89990 – DMR+ Parrot. This needs to be setup as a group call.
Brandmeister Setup
Brandmeister has no prefix. Just program the talkgroup number as you always have
TGIF Setup
TGIF is 4 and the talkgroup numbers are 6 digits. So to use the IRN talkgroup on TGIF talkgroup 320 would be programmed as 4000320
Testing your hotspot
Now let’s test your setup to confirm everything is working using each network’s Parrot. To test the Brandmeister connection, do a private call to 9990. To test DMR+ send a group call to 89990 and to test TGIF send a private call to 4009990. Each should play back what you transmit. If one of the networks does not work check the configuration file to be sure you entered all of the required information such as your DMR ID or your Brandmeister hotspot security password, save and try again.
Private Calls
To make a private call to another station, just enter their DMR ID in your code plug and select private call. The call will be routed over the Brandmeister network.
I hope this helps you to get your multi network hotspot up and running. If you have any questions, feel free to give me a call on the QuadNet Array DMR+ talkgroup 320. You can also send an email to [email protected]. If you have any questions about the IPSC2-QuadNet server, send an email to [email protected]
I would like to thank Cliff VE6PLC and Andy MW0MWZ for your help with this configuration. Without your input this solution would not have been nearly as elegant. I would also like to thank the many volunteers that helped make sure this worked on their hotspot. If it weren’t for you helping to find bugs this project would have been a lot more difficult.
73 – Jeff VE6DV
Jeff Bishop, VE6DV, is a special contributor to AmateurRadio.com and writes from Alberta, Canada. Contact him at [email protected].
 Ham Radio Deluxe |
 Ham Radio Prep |
 Ham Radio School |
 KB3IFH QSL Cards  Hip Ham Shirts  HamRadioAuctions HamRadioAuctions Reliance Antennas Reliance Antennas Enigma Shop Enigma Shop |  morseDX  Ni4L Antennas  R&L Electronics R&L Electronics antennas.us antennas.us Ears to Our World Ears to Our World |
- Matt W1MST, Managing Editor
