 |
 Weekly Propagation Summary – 2016 Mar 14 16:10 UTC
Here is this week’s space weather and geophysical report, issued 2016 Mar 14 0430 UTC.
Highlights of Solar and Geomagnetic Activity 07 – 13 March 2016
Solar activity reached low levels on 08-09 and 12 March. The largest event of the period was a C3 flare from Region 2519 (N05, L=007, class/area=Cso/80 on 13 Mar) at 09/1250 UTC. Very low levels of solar activity were observed throughout the remainder of the period. No coronal mass ejections (CMEs) observed in coronagraph imagery were determined to be Earth-directed.
No proton events were observed at geosynchronous orbit.
The greater than 2 MeV electron flux at geosynchronous orbit was at high levels on 07-11 Mar and decreased to moderate levels on 12-13 Mar.
Geomagnetic field activity reached G1 (Minor) geomagnetic storm levels early on 07 Mar due to the influence of a positive polarity coronal hole high speed stream (CH HSS). Activity levels subsided to quiet to unsettled levels on 08 Mar and quiet levels by 09 Mar. Quiet to unsettled conditions were observed on 10 Mar and continued into early on 11 Mar when the co-rotating interaction region (CIR) ahead of a positive polarity CH HSS caused G2 (Moderate) geomagnetic storm conditions. As the CH HSS progressed, conditions tapered down to active levels early on 12 Mar and into quiet to unsettled for the remainder of the day. Activity continued to subside with only quiet conditions observed on 13 Mar.
Forecast of Solar and Geomagnetic Activity 14 March – 09 April 2016
Solar activity is expected to be at very low levels with a chance for C-class flares throughout the forecast period.
No proton events are expected at geosynchronous orbit.
The greater than 2 MeV electron flux at geosynchronous orbit is expected to be at high levels on 16-21 Mar and 04-06 Apr. Moderate levels are expected on 22 Mar-03 Apr and 07-09 Apr. Normal levels are expected on 14-15 Mar.
Geomagnetic field activity is expected to reach G1 (Minor) storm levels on 15-16 Mar and 02-03 Apr due to the influence of a negative polarity CH HSS. Active conditions are expected on 17 Mar and 08 Apr. Unsettled conditions are expected 18 Mar and 01, 04, 07, 08 Apr. Quiet conditions are expected throughout the remainder of the outlook period under a nominal solar wind regime.
Don’t forget to visit our live space weather and radio propagation web site, at: http://SunSpotWatch.com/
Live Aurora mapping is at http://aurora.sunspotwatch.com/
If you are on Twitter, please follow these two users: + https://Twitter.com/NW7US + https://Twitter.com/hfradiospacewx
Get the space weather and radio propagation self-study course, today. Visit http://nw7us.us/swc for the latest sale and for more information!
Check out the stunning view of our Sun in action, as seen during the last five years with the Solar Dynamics Observatory (SDO): https://www.youtube.com/watch?v=zXN-MdoGM9g
We’re on Facebook: http://NW7US.us/swhfr
Visit, subscribe: NW7US Radio Communications and Propagation YouTube Channel
LHS Episode #164: Ancient Antenna Modeling
 We're done with the editing of Episode #164 and here it is for your listening pleasure. In this episode, your hosts tackle topics from Bugbook computers to permanent amateur radio licenses, from Turing phones to Raspberry Pi computers and from antenna modeling software to lobster on pizza. We hope everyone will find something to enjoy. Please let us know by sending us feedback. We'd love to hear from you.
73 de The LHS Crew
Russ Woodman, K5TUX, co-hosts the Linux in the Ham Shack podcast which is available for download in both MP3 and OGG audio format. Contact him at russ@bluecows.com.
A visit with a QRP contest station
160m Spring Stew Perry Contest - QRP style
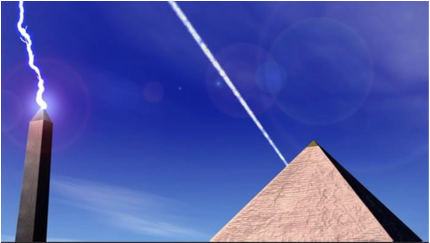
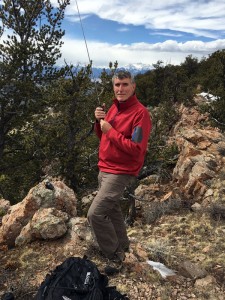
I had the opportunity to visit with Paul Stroud AA4XX as he worked the early hours in the 160m Spring Stew Perry Contest. Paul is an avid CW operator dedicated to QRP and QRPp operations. When he works contests he often participates using the Knightlites club call WQ4RP (Note the QRP in the call).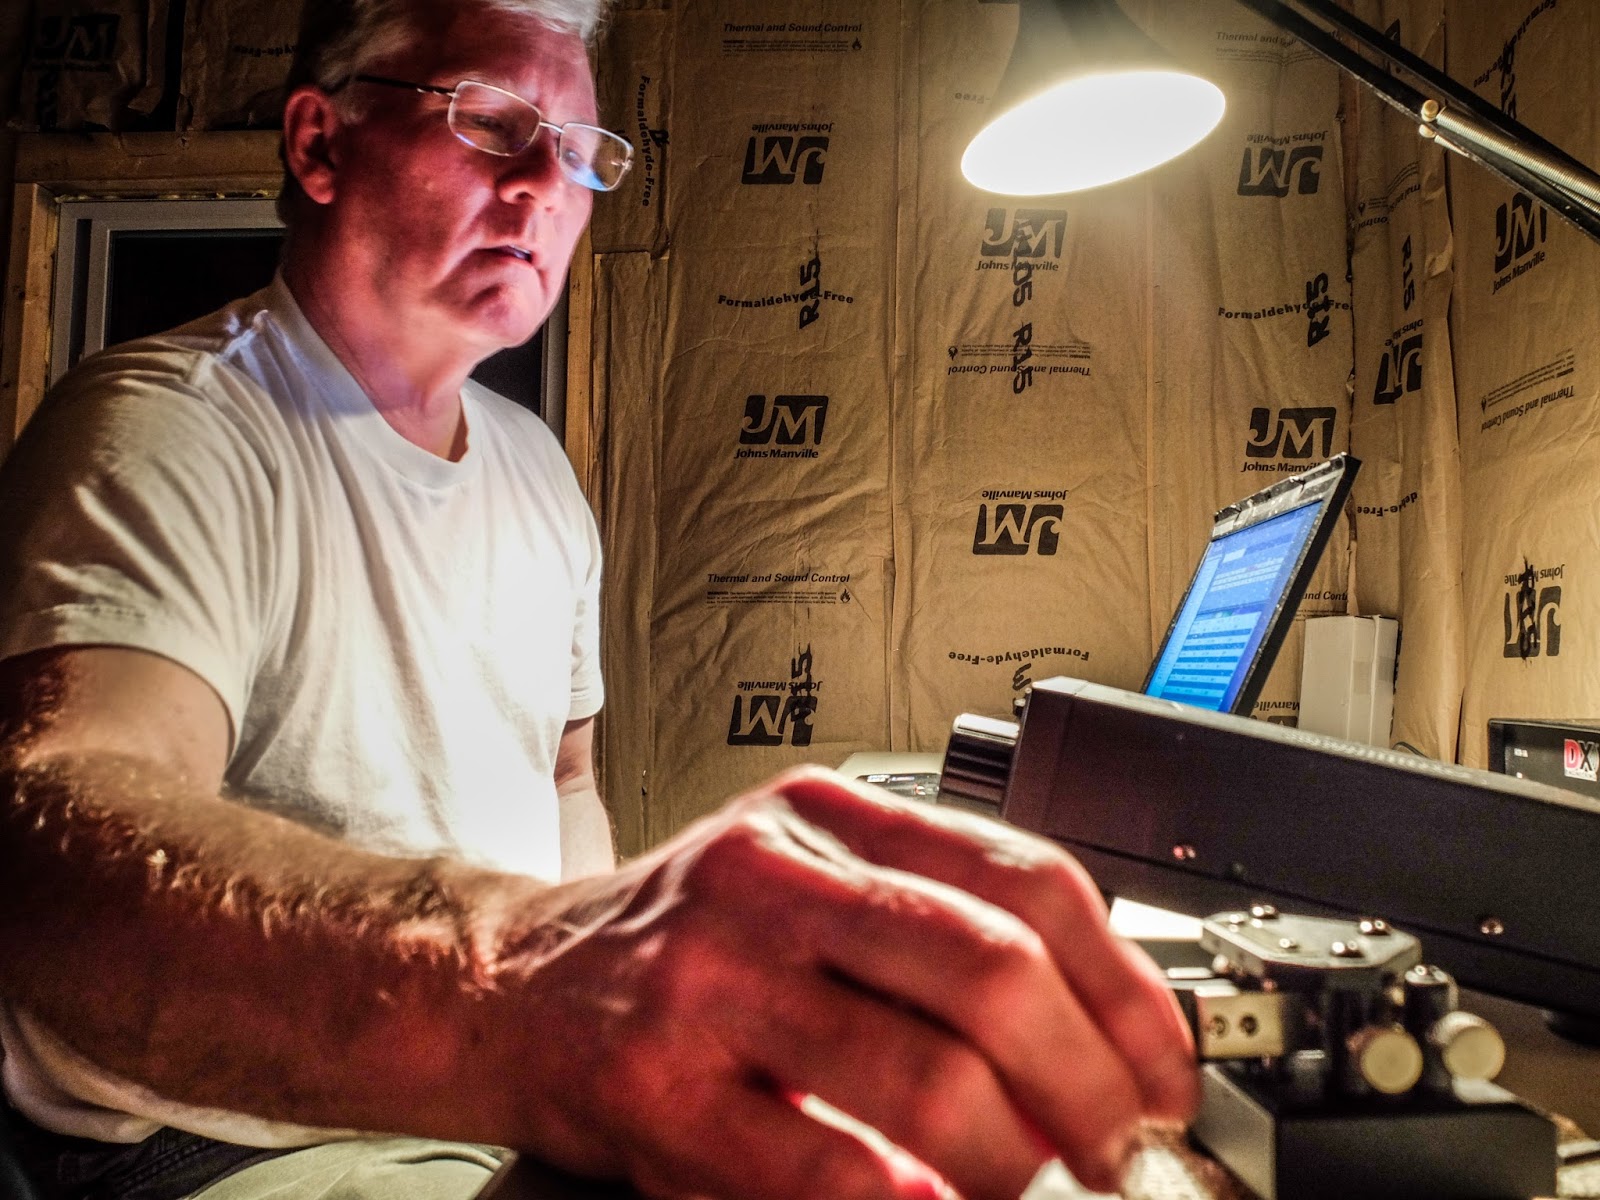 |
| AA4XX operating as WQ4RP during the 160m Stew Perry Spring Top Band contest |
160m Top Band
160m (top band) is challenging due to the physical logistics of a suitable antenna. I had the opportunity to assist with a portion of raising the 160m vertical loop antenna at the "Excalibur antenna site" and installing the 24 elevated radials that help make this antenna so effective. There's a lot of wire in the ground system. The antenna site is located in the woods, off grid, and away from electrically noisy homes.Power to the remote shack is supplied by a quiet Honda 1kW generator operating a couple dozen feet from the shack. Due to the lower power requirements of QRP Paul can run the generator on eco-mode allowing its small fuel tank to provide 8 hours of operation between fill-ups.
Paul uses a Ten Tec Argonaut VI, running 5 watts output into the Excalibur 160m vertical loop. He uses N1MM+ logger software and a WinKeyer interfaced to the software. He also employs a SDR (software defined radio) feeding CWSkimmer signals across the band. An antenna splitter simultaneously feeds the SDR and the Argonaut. The SDR receiver is switched out during transmit by a DX Engineering RTR-1A Receive switch. His CW key is a N3ZN ZN-QRP model.
The N1MM+ logging software keeps track of which stations have already been worked and the CWSkimmer interface displays calling stations on the band being heard by his antenna.
 |
| The remote QRP station setup for contesting |
In the Stew Perry contest the only information exchanged was grid squares. I'm still relatively new to CW and watching Paul casually copy grid squares sent at 30wpm was impressive. I would have had to ask the caller to re-send their grid squares 5 times but Paul makes it look easy.
Instructions for the newbie
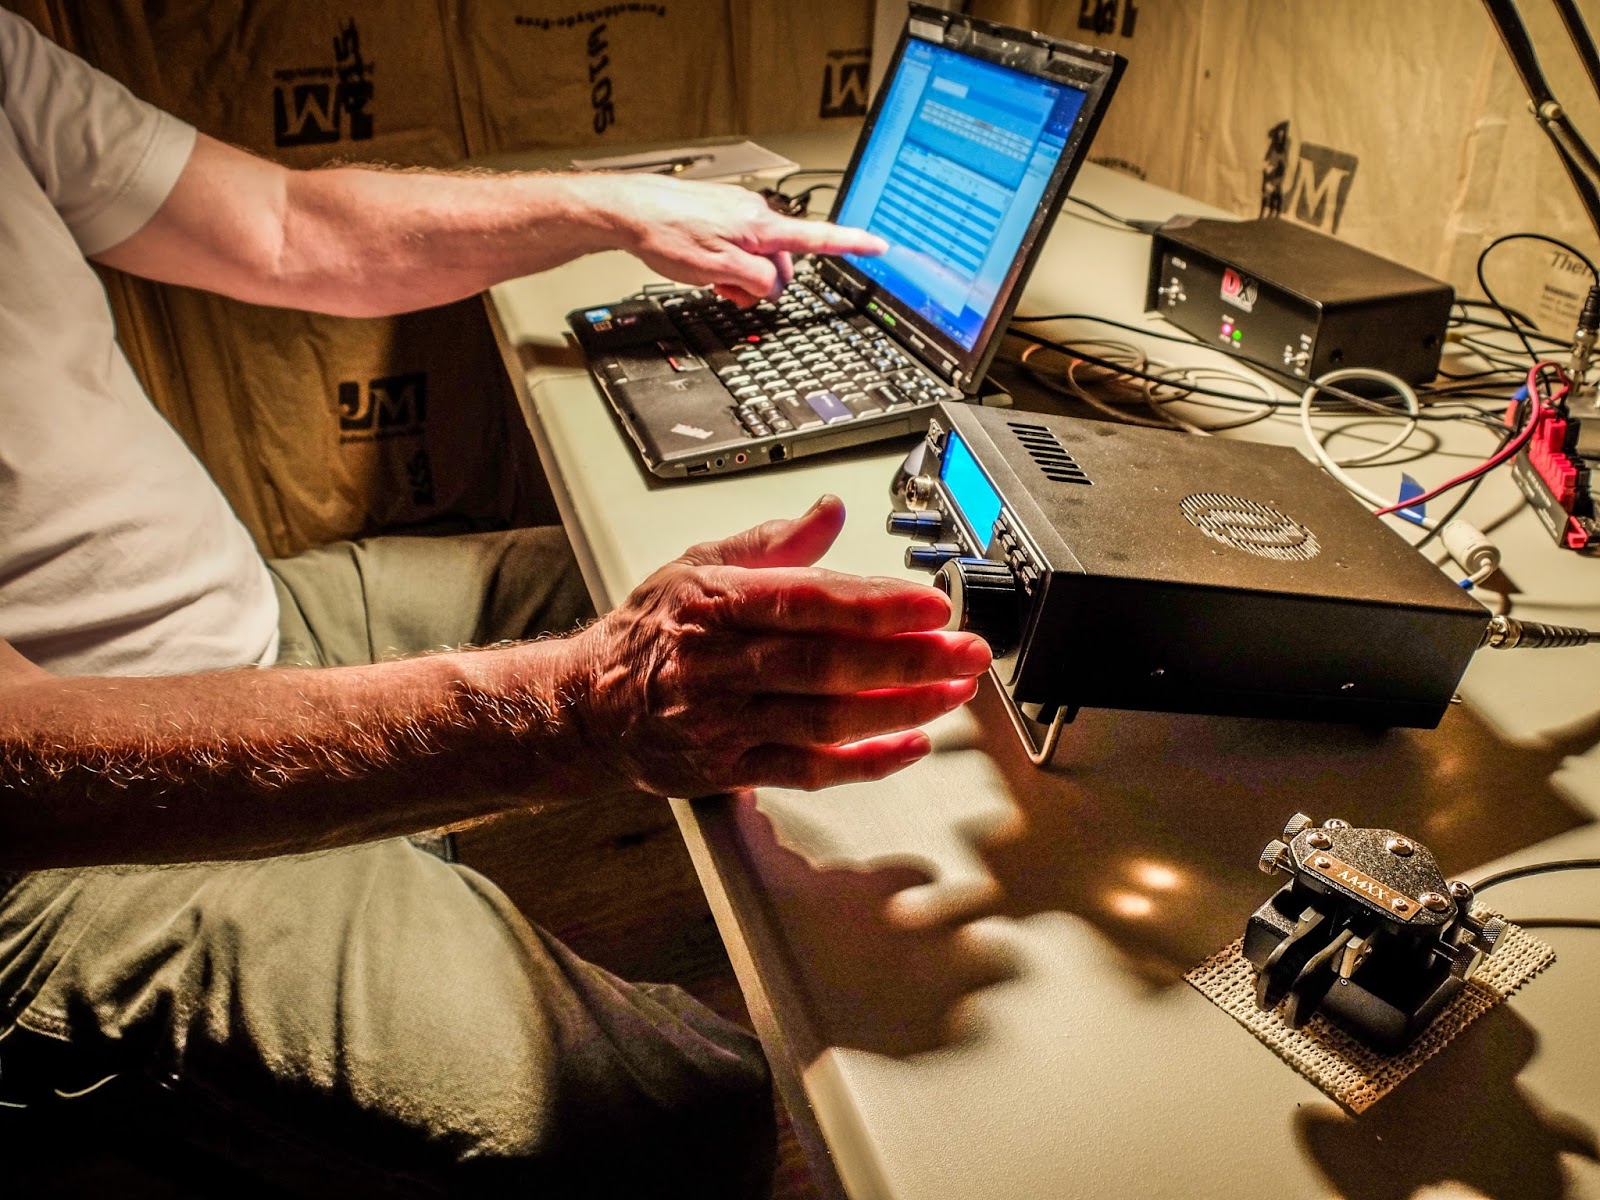 |
| Paul demonstrating the contesting software and usage |
Why QRP?
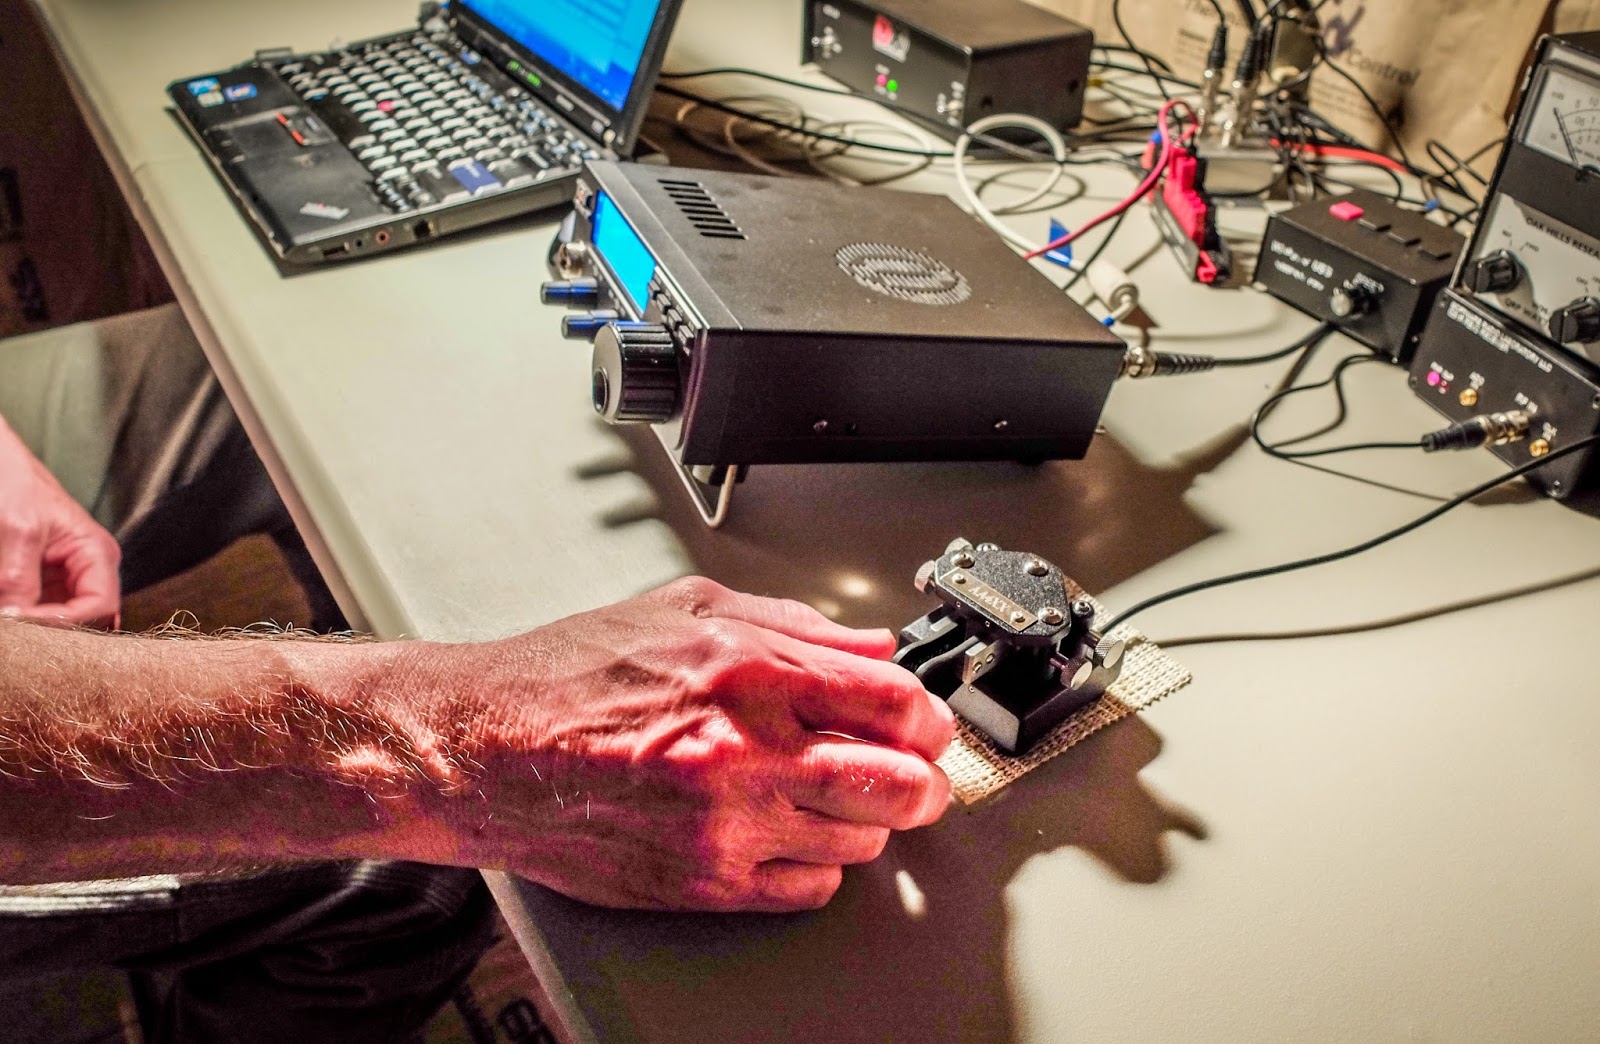
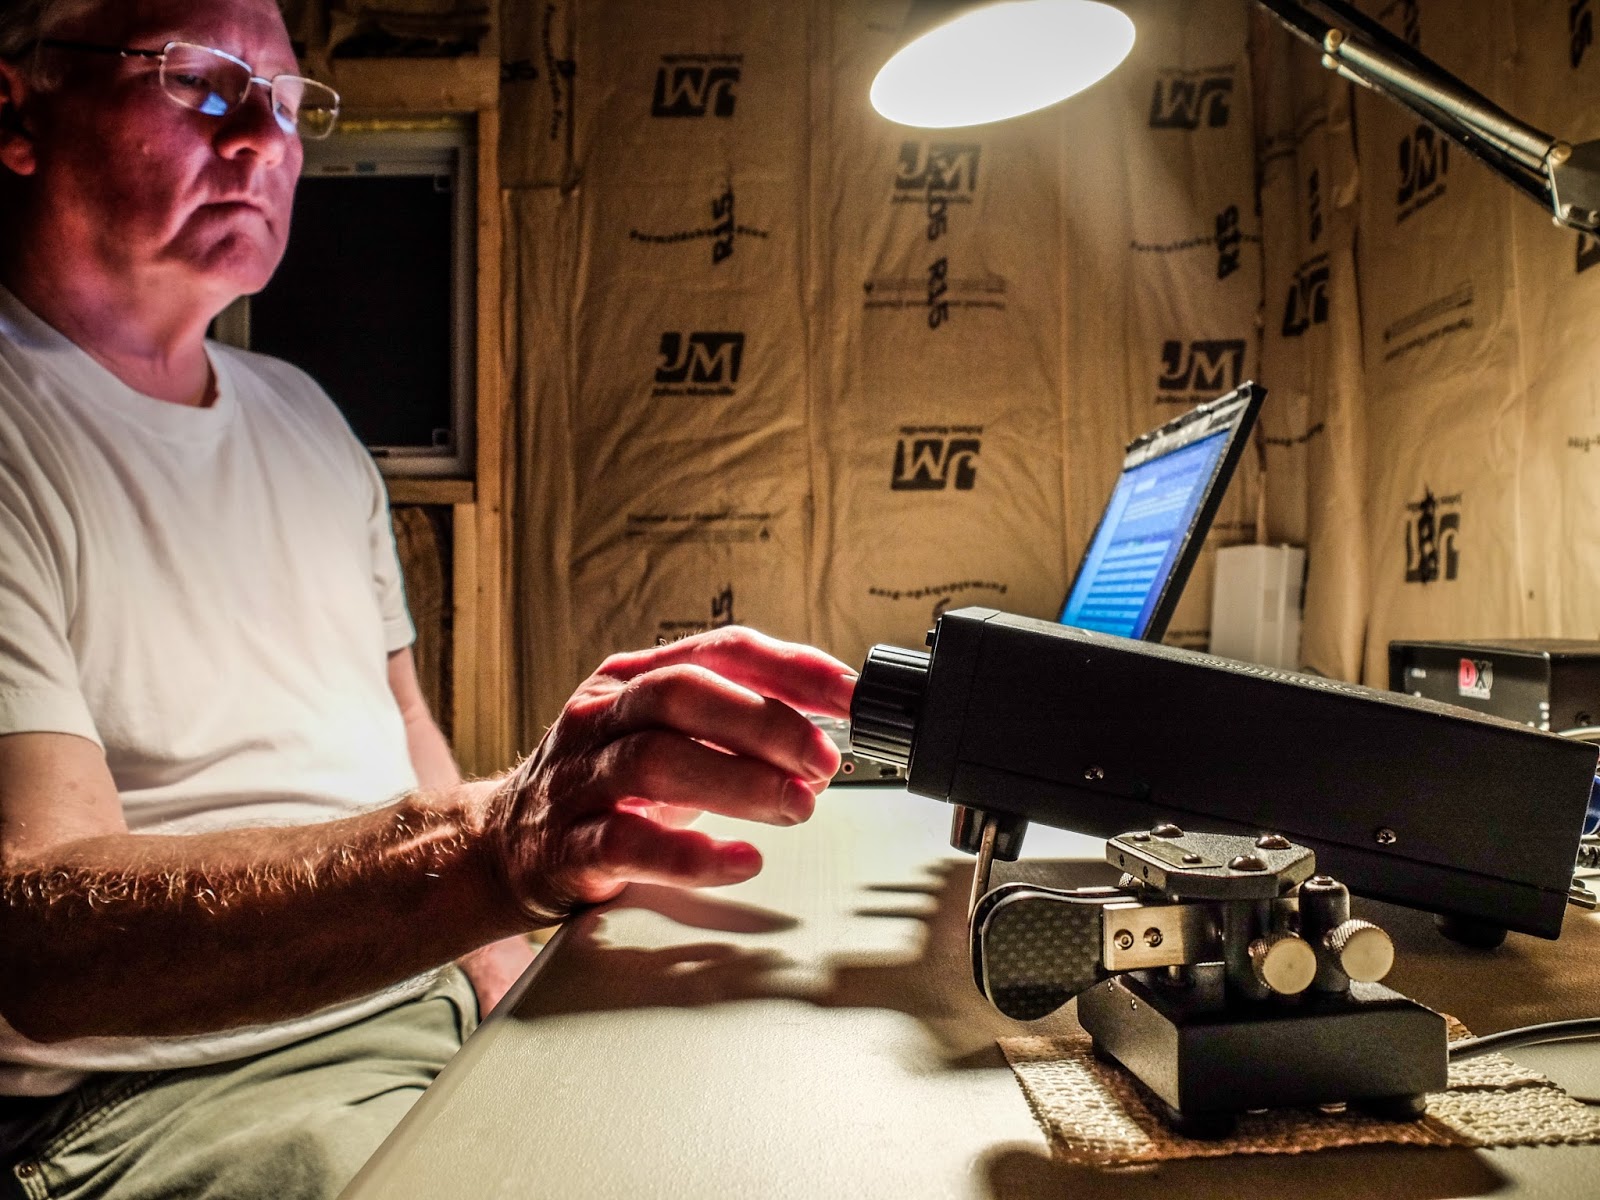 |
| Finding the next station to work. (N3ZN QRP CW key in the foreground) |
Why contest?
What's next?
Richard Carpenter, AA4OO, is a regular contributor to AmateurRadio.com and writes from North Carolina, USA. Contact him at aa4oo@hamradioqrp.com.
PAØRDT Miniwhip Shakedown Continues
PAØRDT's recent modification of the isolating transformer, in the miniwhip coupling unit, provides much better immunity to common mode noise-coupling in the HF bands. Mike shows the installation and operation of the new unit along with some additional grounding out at the antenna.
Those of you that are looking for a possible solution to relatively good reception on LF or on the 630m band, might find the answer with a carefully thought out installation such as the one shown in Mike's video series.
Although living in the suburbs often means dealing with a lot of noise, particularly on LF / MF, Mike's system shows that excellent low noise reception is indeed possible. It is important to 'probe' your backyard with the antenna itself in order to find the quietest location for installation.
More information on the PAØRDT miniwhip and other low-noise LF / MF antennas may be found in previous blogs here.
Steve McDonald, VE7SL, is a regular contributor to AmateurRadio.com and writes from British Columbia, Canada. Contact him at ve7sl@shaw.ca.
AmateurLogic 88: March Madness
AmateurLogic.TV Episode 88 is now available for download.
Tommy brings up a 3D Printer Primer, Emile introduces Repo Claus, Peter talks about Raspberry Pi SD card corruption, and George shows another easy way to use copper clad PC boards with solder islands.
1:20:13
George Thomas, W5JDX, is co-host of AmateurLogic.TV, an original amateur radio video program hosted by George Thomas (W5JDX), Tommy Martin (N5ZNO), Peter Berrett (VK3PB), and Emile Diodene (KE5QKR). Contact him at george@amateurlogic.tv.
Winter SOTA Activation of Kaufman Ridge North
Today, Joyce KØJJW and I activated Kaufman Ridge North (W0C/SP-085) for Summits On The Air (SOTA). We’ve been on the summit before, including the first ever SOTA activation back in September of 2012. This summit is close to our cabin, so it made for a convenient hike. The mountain is not that difficult of a climb but we encountered quite a bit of snow in March, up to three feet in places, which we tromped across with snowshoes.

My blog posting about the next mountain to the south, Kaufman Ridge HP (W0C/SP-081), outlines a good way to access both summits during the summer. However, a seasonal gate closure (December to April) means we needed to find a different route. We approached the mountain from the north, parking our vehicle on Castle Court (a short side road off of Kaufman Road). We quickly crossed what appears to be private property (empty lot, no signs) to get to the US Forest Service boundary. Once we hopped the fence we were on public lands. We intentionally routed to the east to avoid some houses.
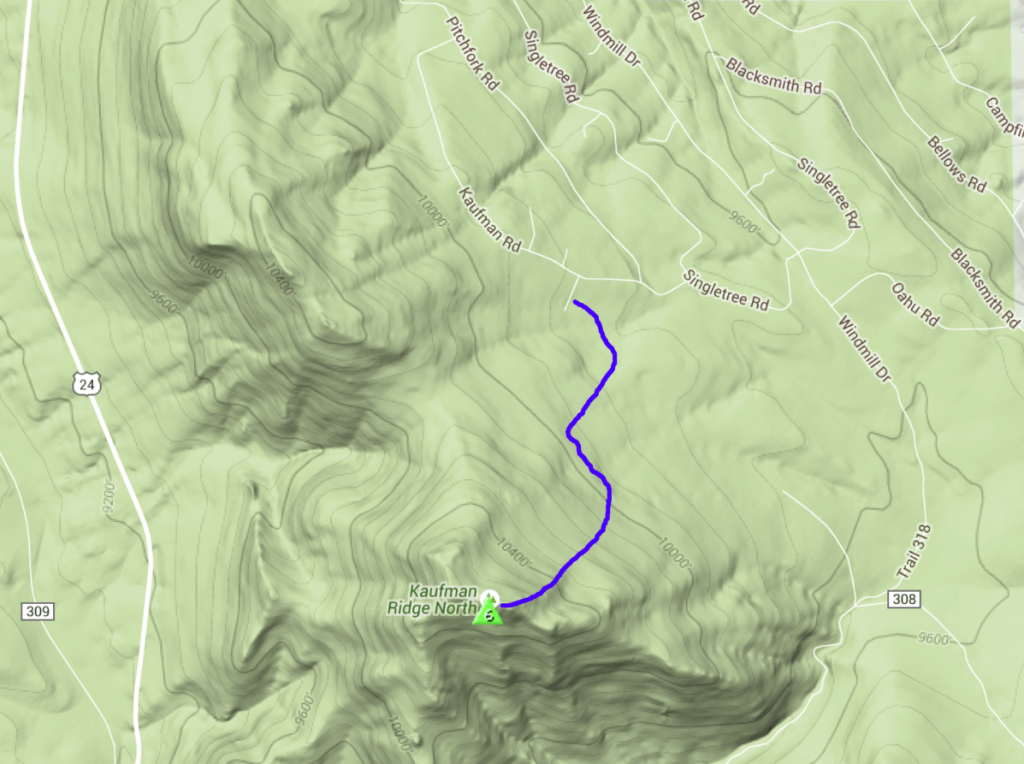
I don’t claim that this route is optimal. We had to break a lot of trail, pushing through the snow. We found a section of trail that had recent snowshoe traffic on it but it wasn’t of much use to us heading to the summit. We followed numerous game trails which appeared and disappeared on the side of the mountain. Mostly, we busted through the snow on our own. Surprisingly, the last quarter mile to the summit had little snow, so we removed our snowshoes at that point and just hiked in boots.
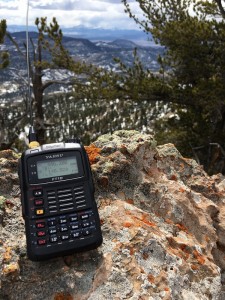 My Yaesu FT-1DR has become my favorite rig for SOTA activations. It covers both 2m and 70cm with dual-receiver capability. it has a built-in GPS receiver and APRS capability that facilitates easy APRS tracking. Joyce and I have a pair of these which we’ve been using to track each other’s positions on the few occasions we get separated on the trail.
After we made the summit, I made a few contacts on 146.52 MHz. Thanks to Jim KDØMRC, Dave KØHTX, Carl K5UK and Candy KEØDMT for giving me my four required SOTA contacts.
The weather turned out to be better than predicted…partly cloudy and temps around 50 degrees F. On the way back down, we retraced our ascent path so we had more of a snowshoe trail to follow. I have to admit that this trip was a good lesson in how off-trail snowshoeing can really be a challenge. This was many times more difficult than a summer trail hike of equal length and elevation gain. Trip stats: 2.6 total miles, 1300 vertical feet.
At least, that’s my story and I’m sticking to it.
73, Bob K0NR
The post Winter SOTA Activation of Kaufman Ridge North appeared first on The KØNR Radio Site.
Bob Witte, KØNR, is a regular contributor to AmateurRadio.com and writes from Colorado, USA. Contact him at bob@k0nr.com.
I will have a BLT please
The BLT-Plus Balanced line QRP tuner
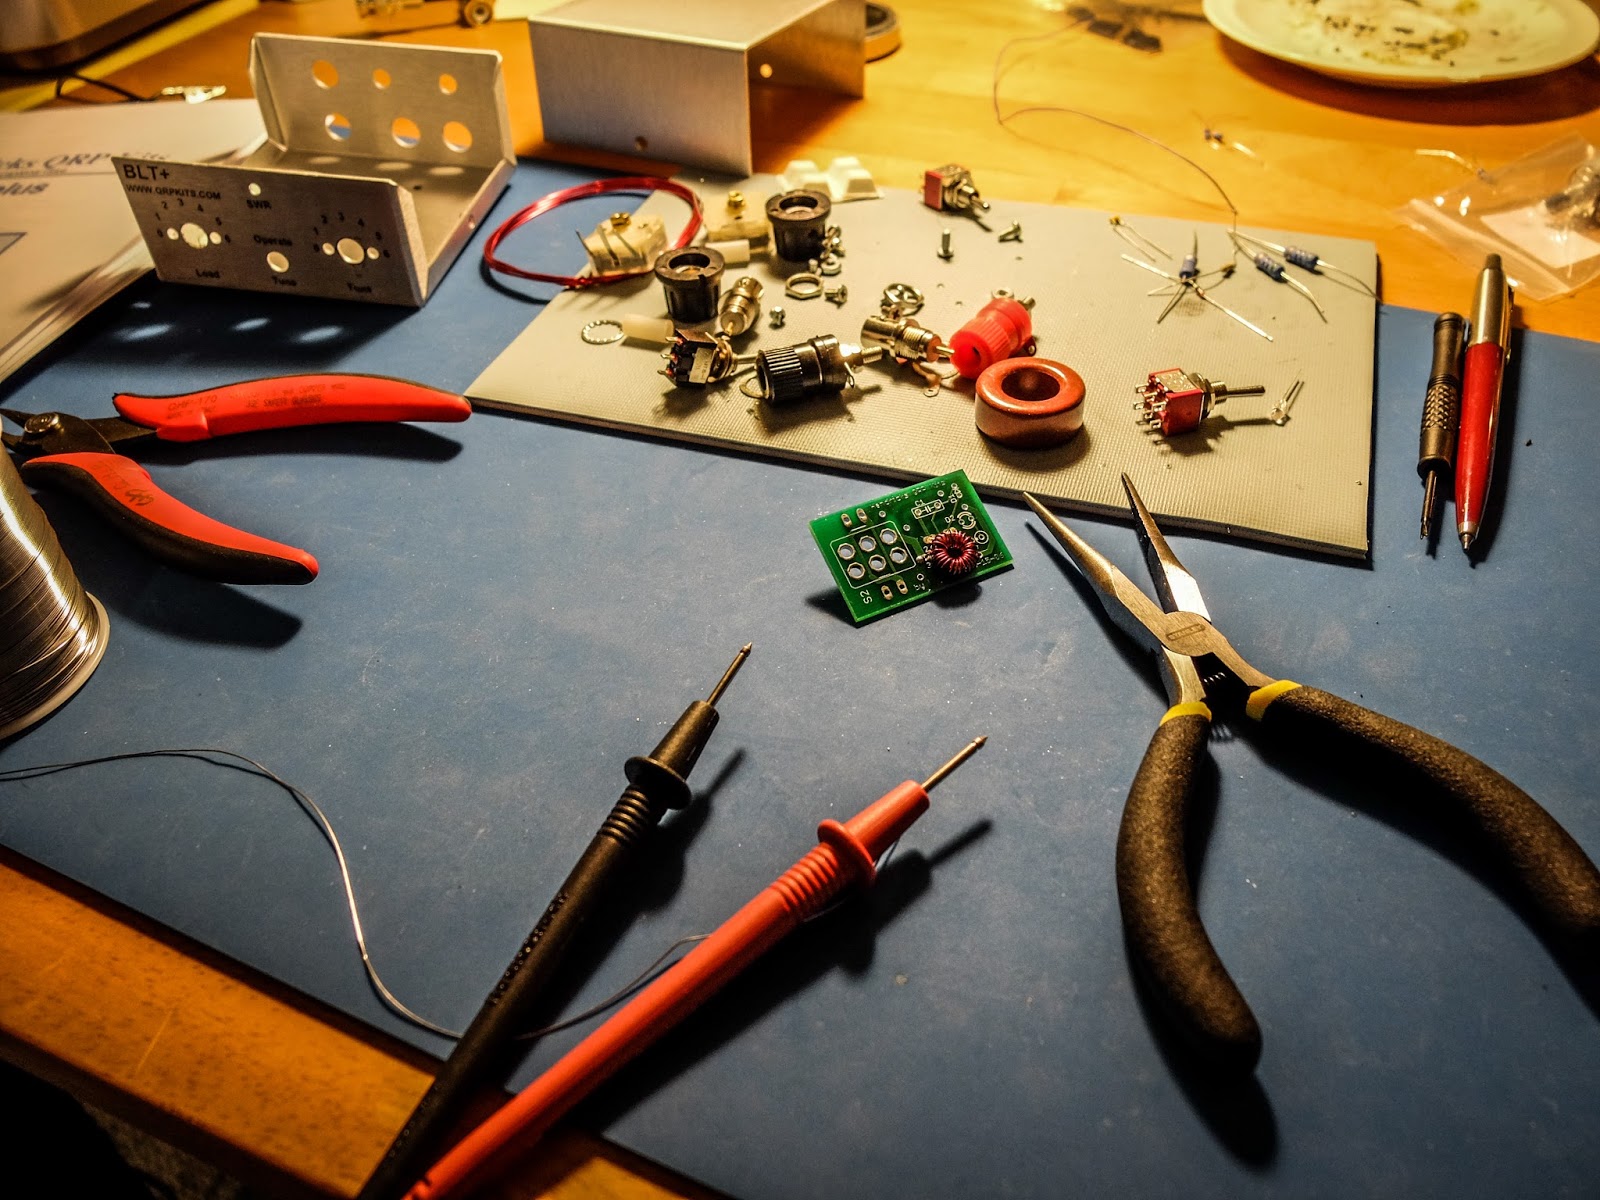
I was looking for a QRP tuner for the 1Watter 40m transceiver I am building that would work with both balanced feedline antennas as well as coax feedline. The traditional Z-Match tuner is quite efficient at tuning balanced line antennas and the built-in SWR bridge gives you an all-in-one tuner and SWR indicator without having to take a separate SWR meter along with its inherent mess of cabling a separate SWR meter. The BLT in the name stands for "Balanced Line Tuner". |
| The Kit as it comes out of the bag |
Why use a z-match ?
- Matches balanced loads without the use of lossy baluns.
- Being a parallel resonant circuit, the Z-match can provide some band-pass filtering for your receiver and harmonic attenuation for your transmitter.
- A well-designed Z-match tuner has a high Q and is more efficient (less lossy) than other types of tuners.
- The fixed inductor simplifies construction (no taps or rollers needed).
The secret sauce
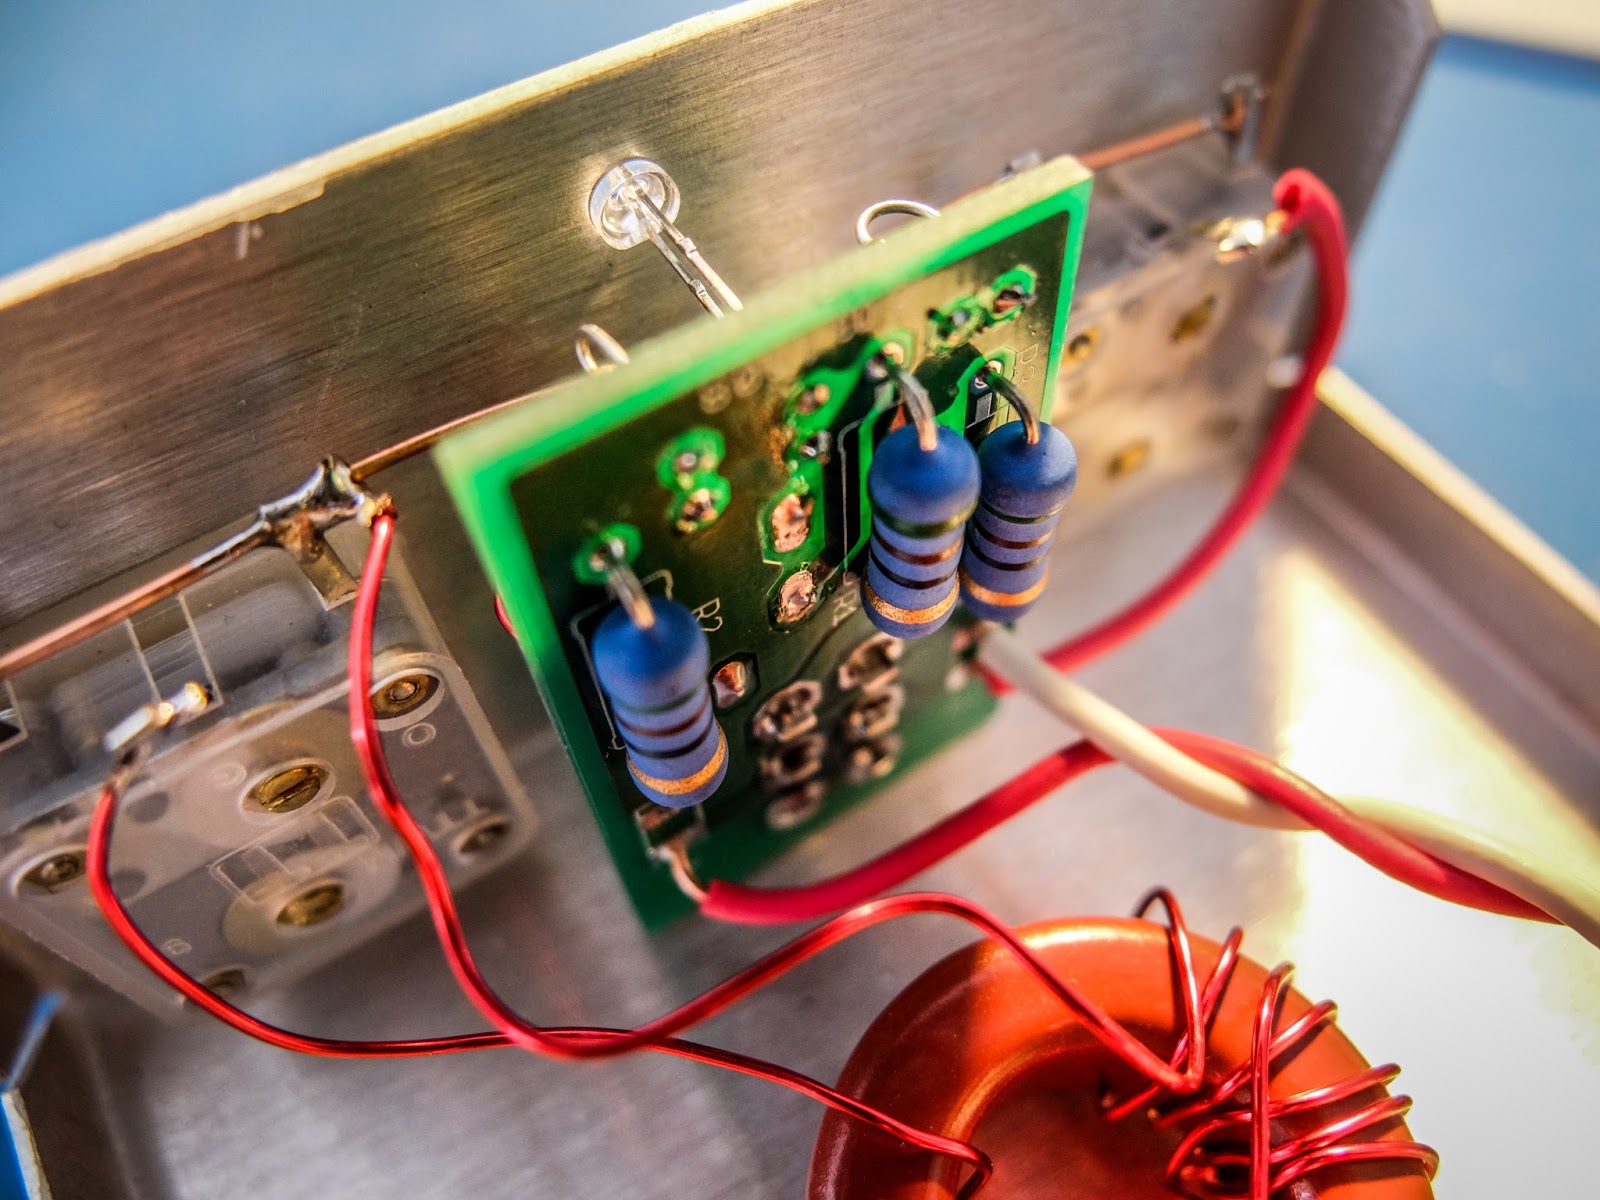
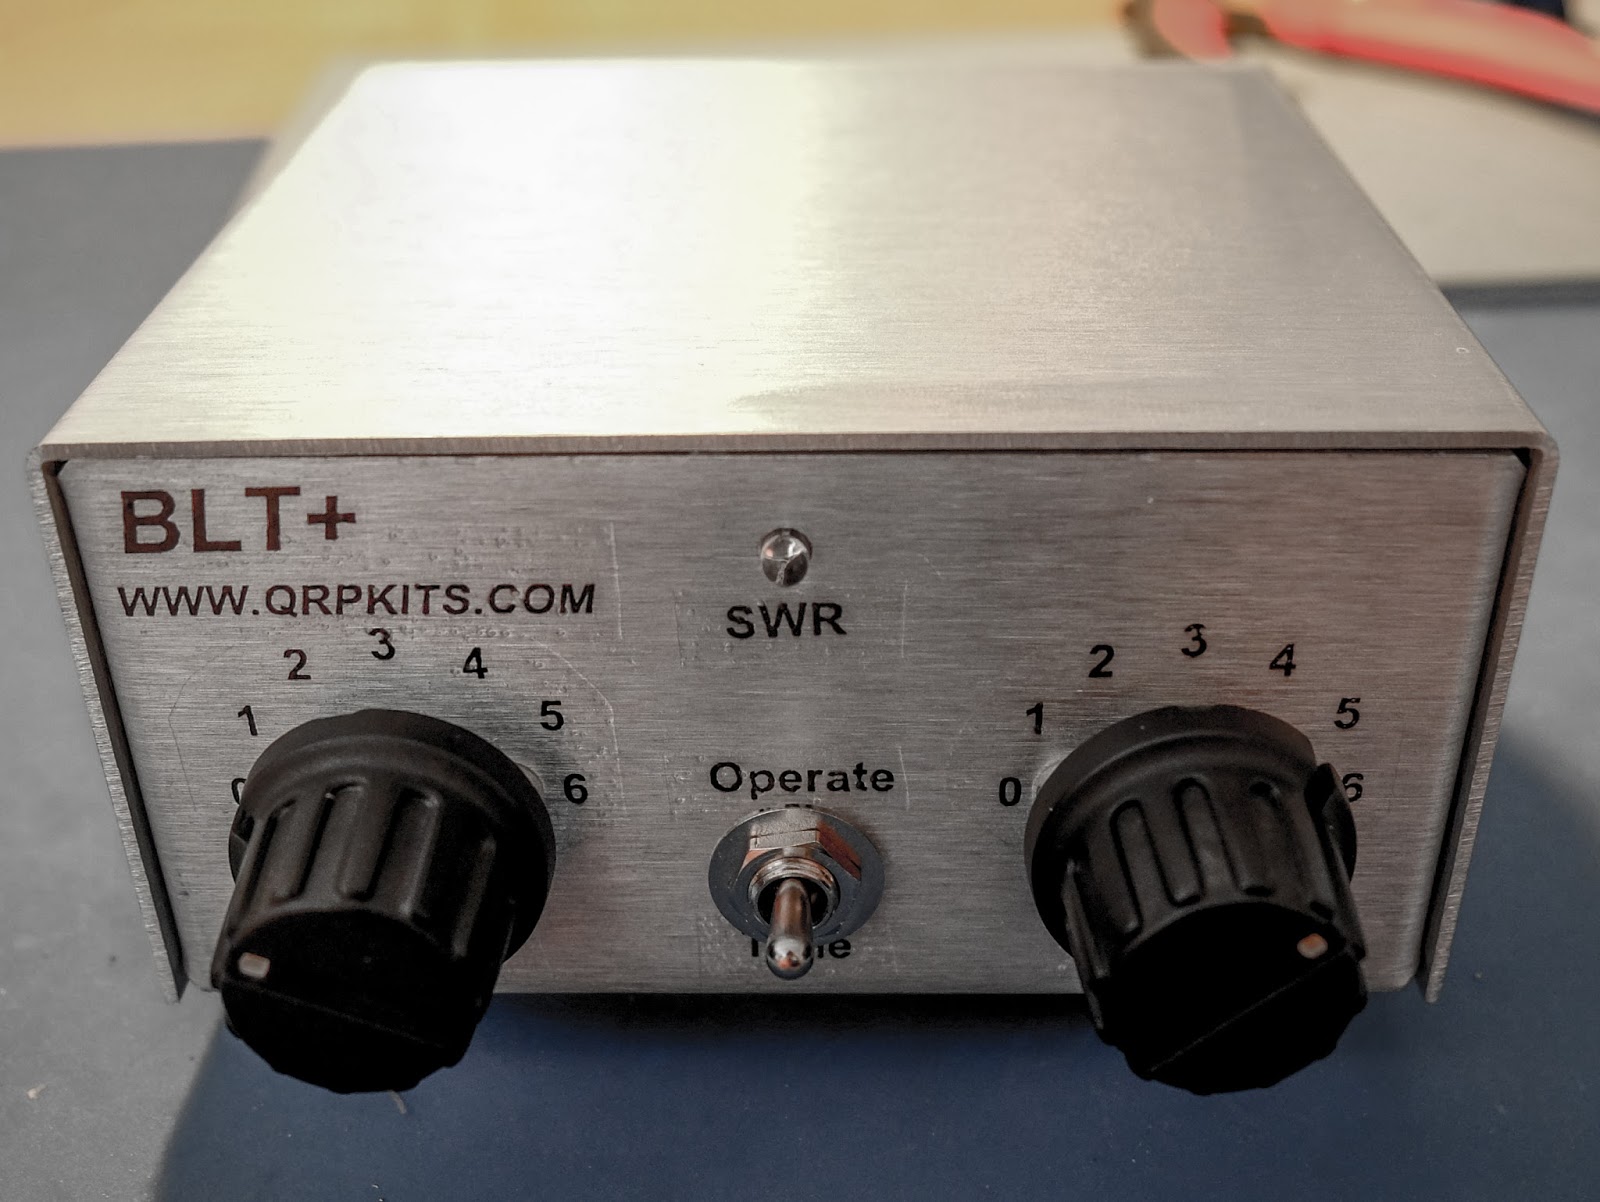
Built in SWR indicator
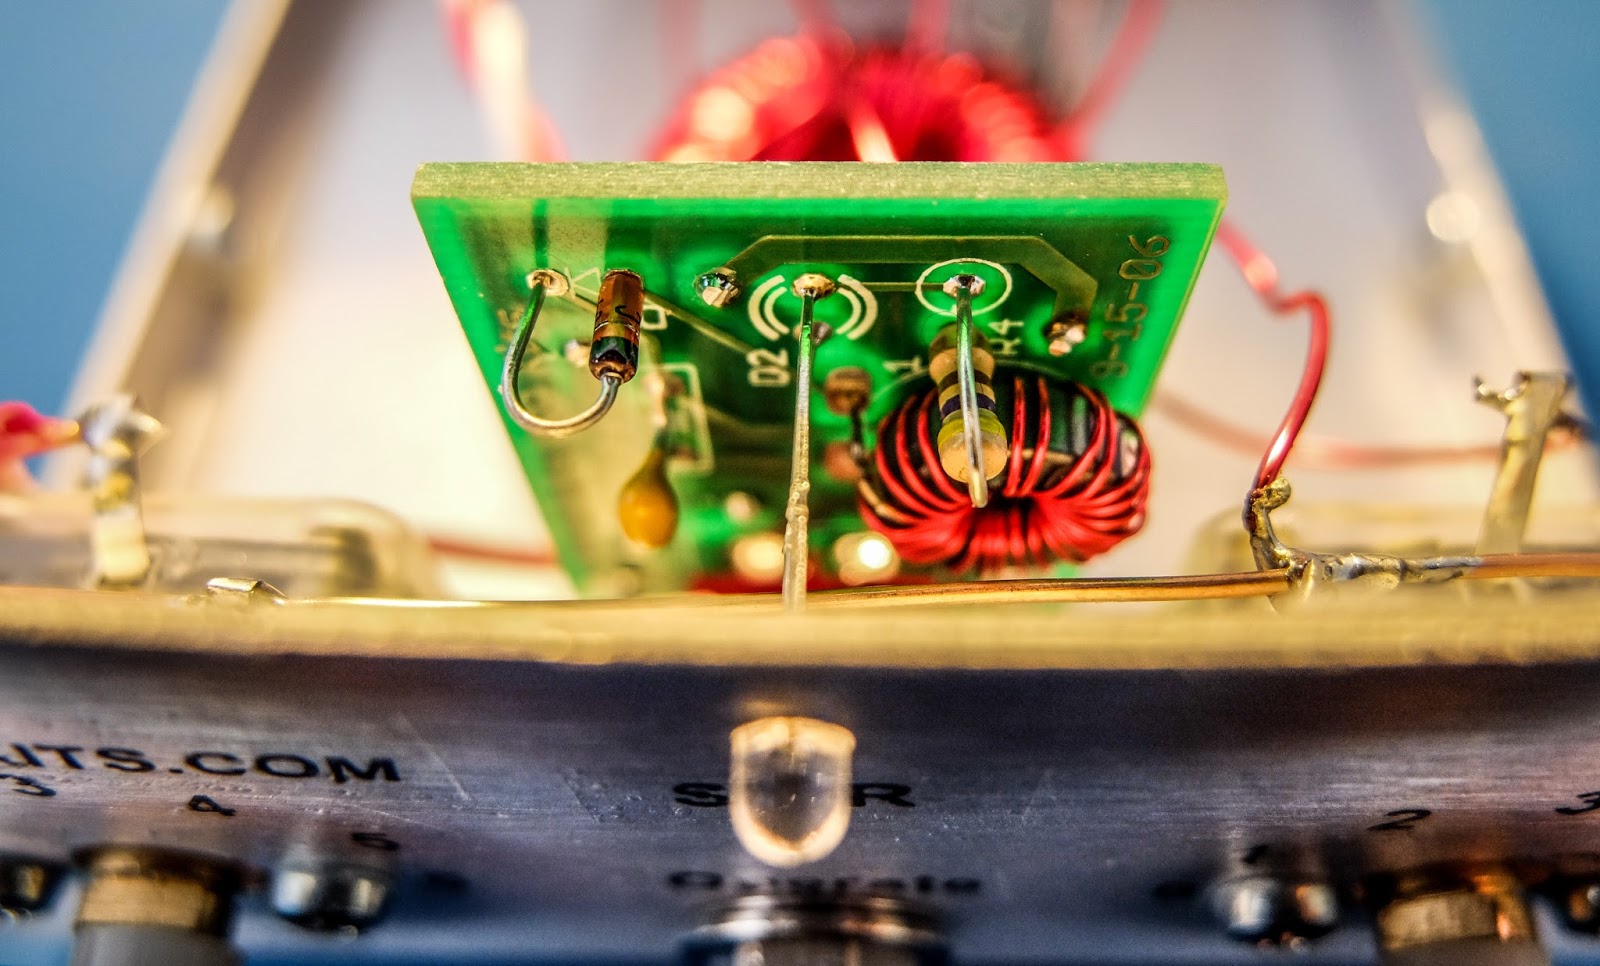 |
| SWR bridge with LED indicator |
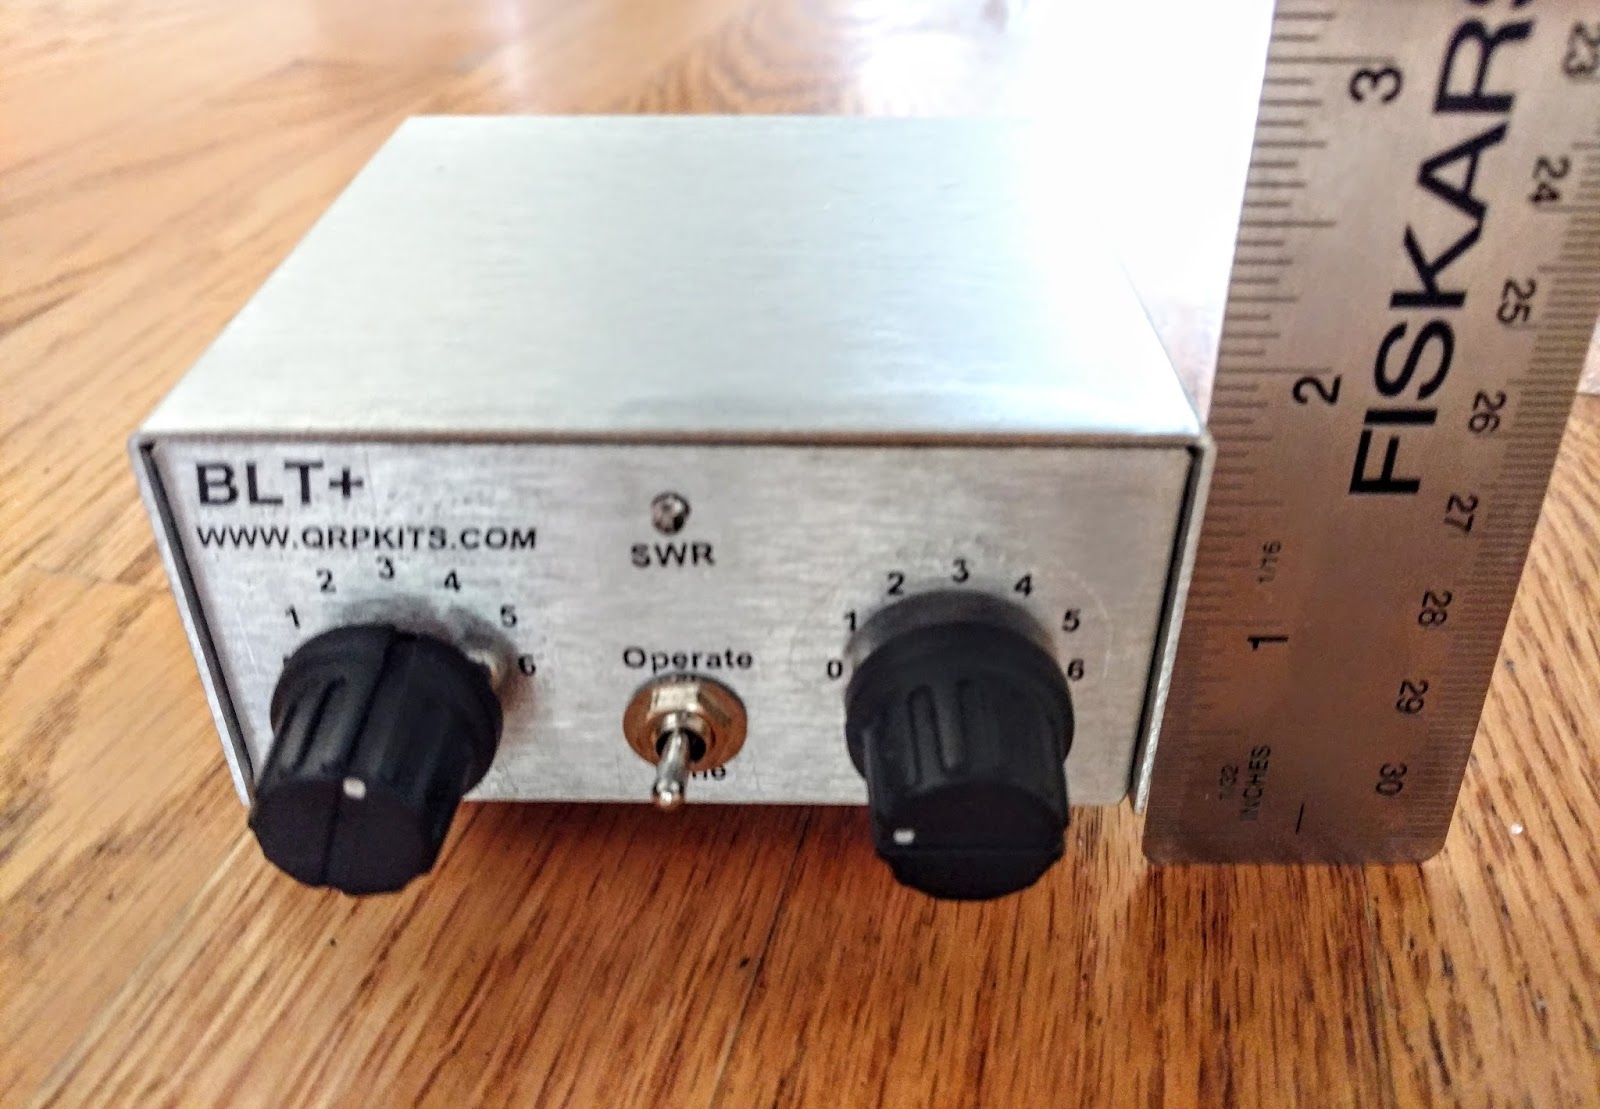
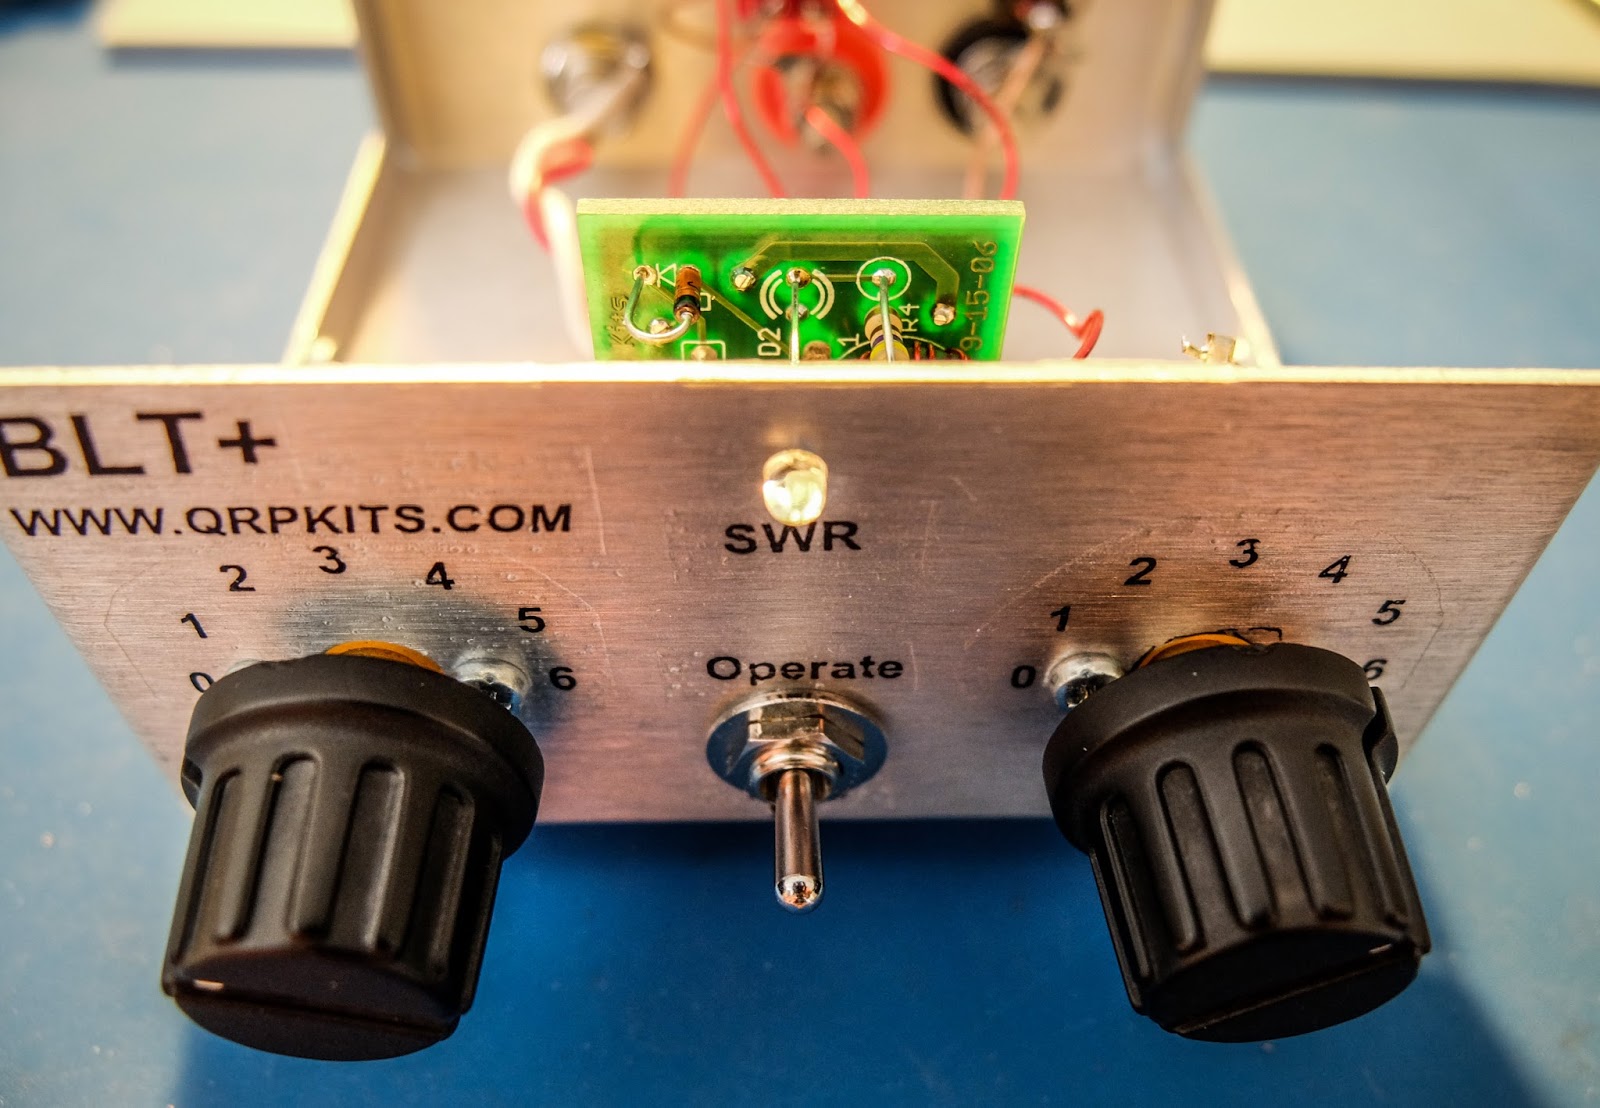 |
| Switch to Tune to present a low SWR to the transmitter while matching, switch to Operate when finished |
Building
- The kit is provided with really nice water slide decals that give it a commercial look (if you don't ruin them like I did). The instructions recommend applying a clear coat to the decals after they are applied. I used a Krylon matte finish clear coat which indicated it was fine for metals and plastics but it partially melted the decals and caused them to bubble. I'd suggest testing whatever you are going to clear coat them with first.
- Don't over tighten the plastic tuner shafts or you won't be able to slide the knobs on (yes I did).
- The binding posts have little plastic spacers that separate and it isn't obvious. If you install them and wonder how they don't ground themselves (like I did) you've done it wrong and will have to go back after it's together and try to remove them with all the wiring in place.
- The bolts for the binding posts are very soft metal and the nuts can strip them if you apply too much force (yep I did that too).
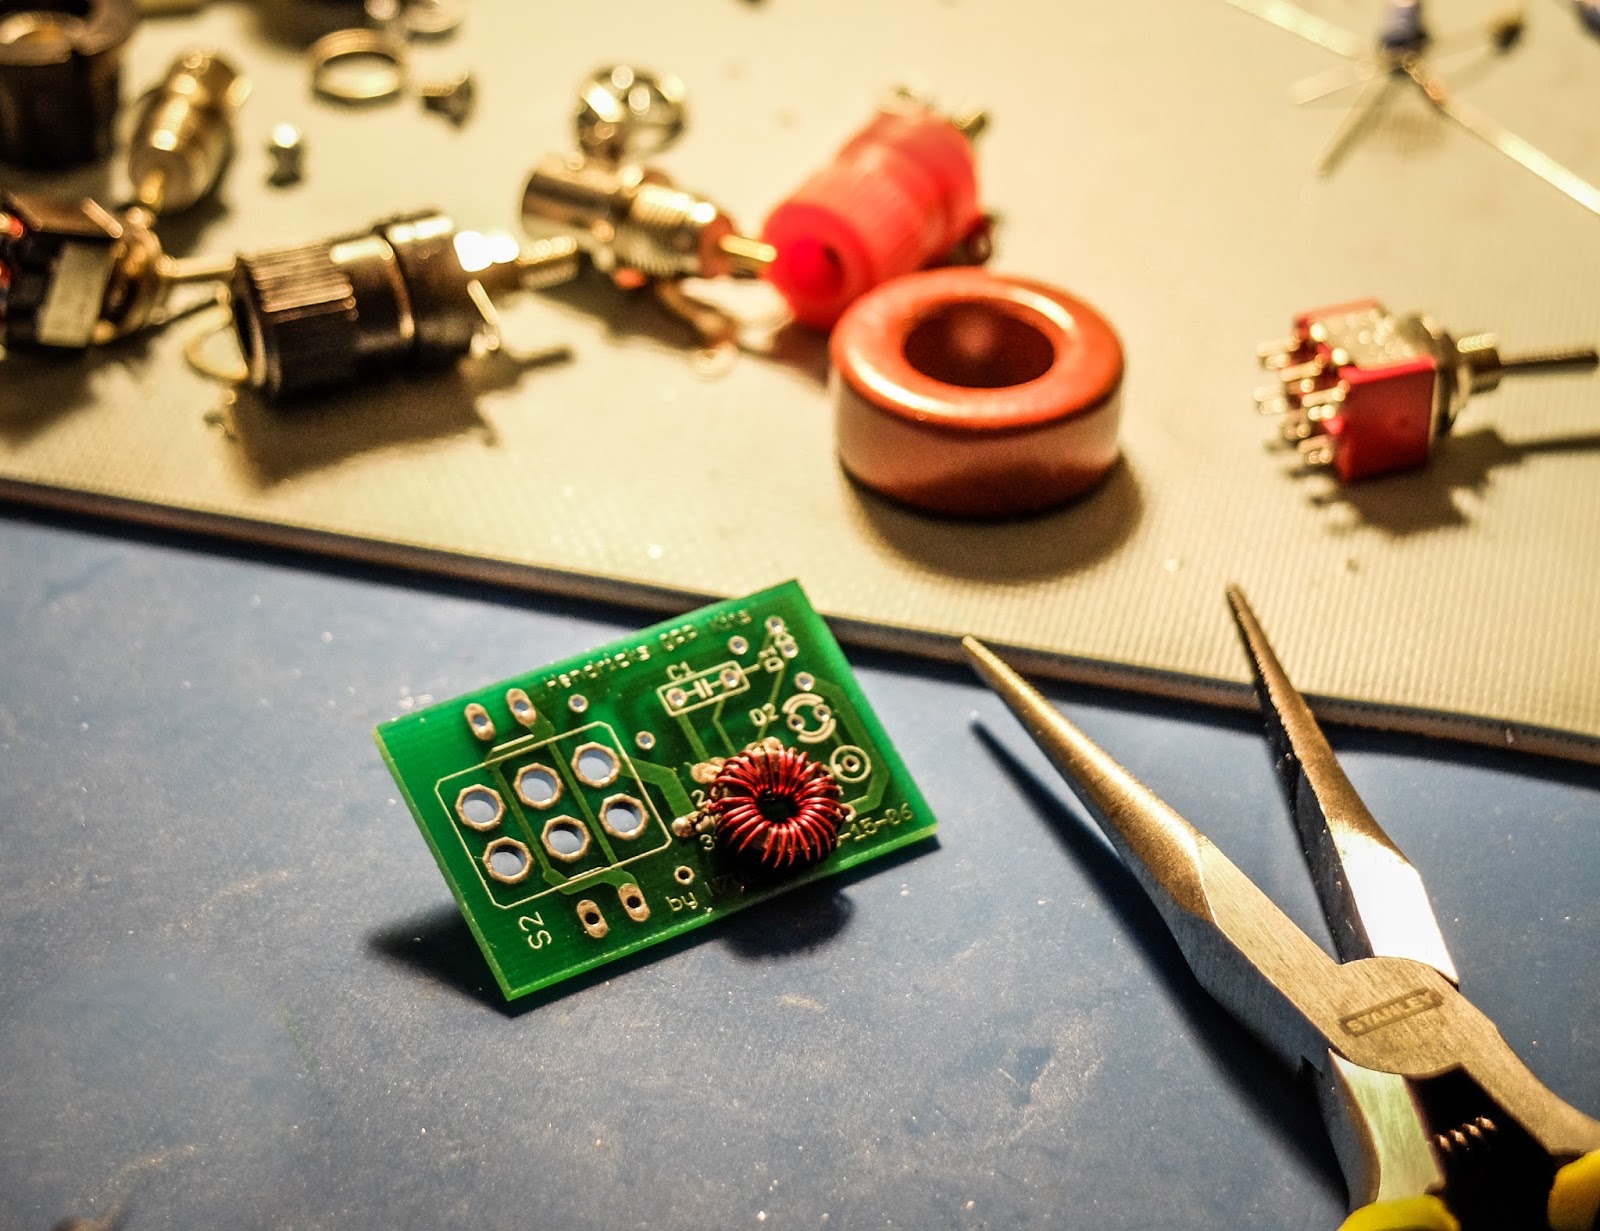
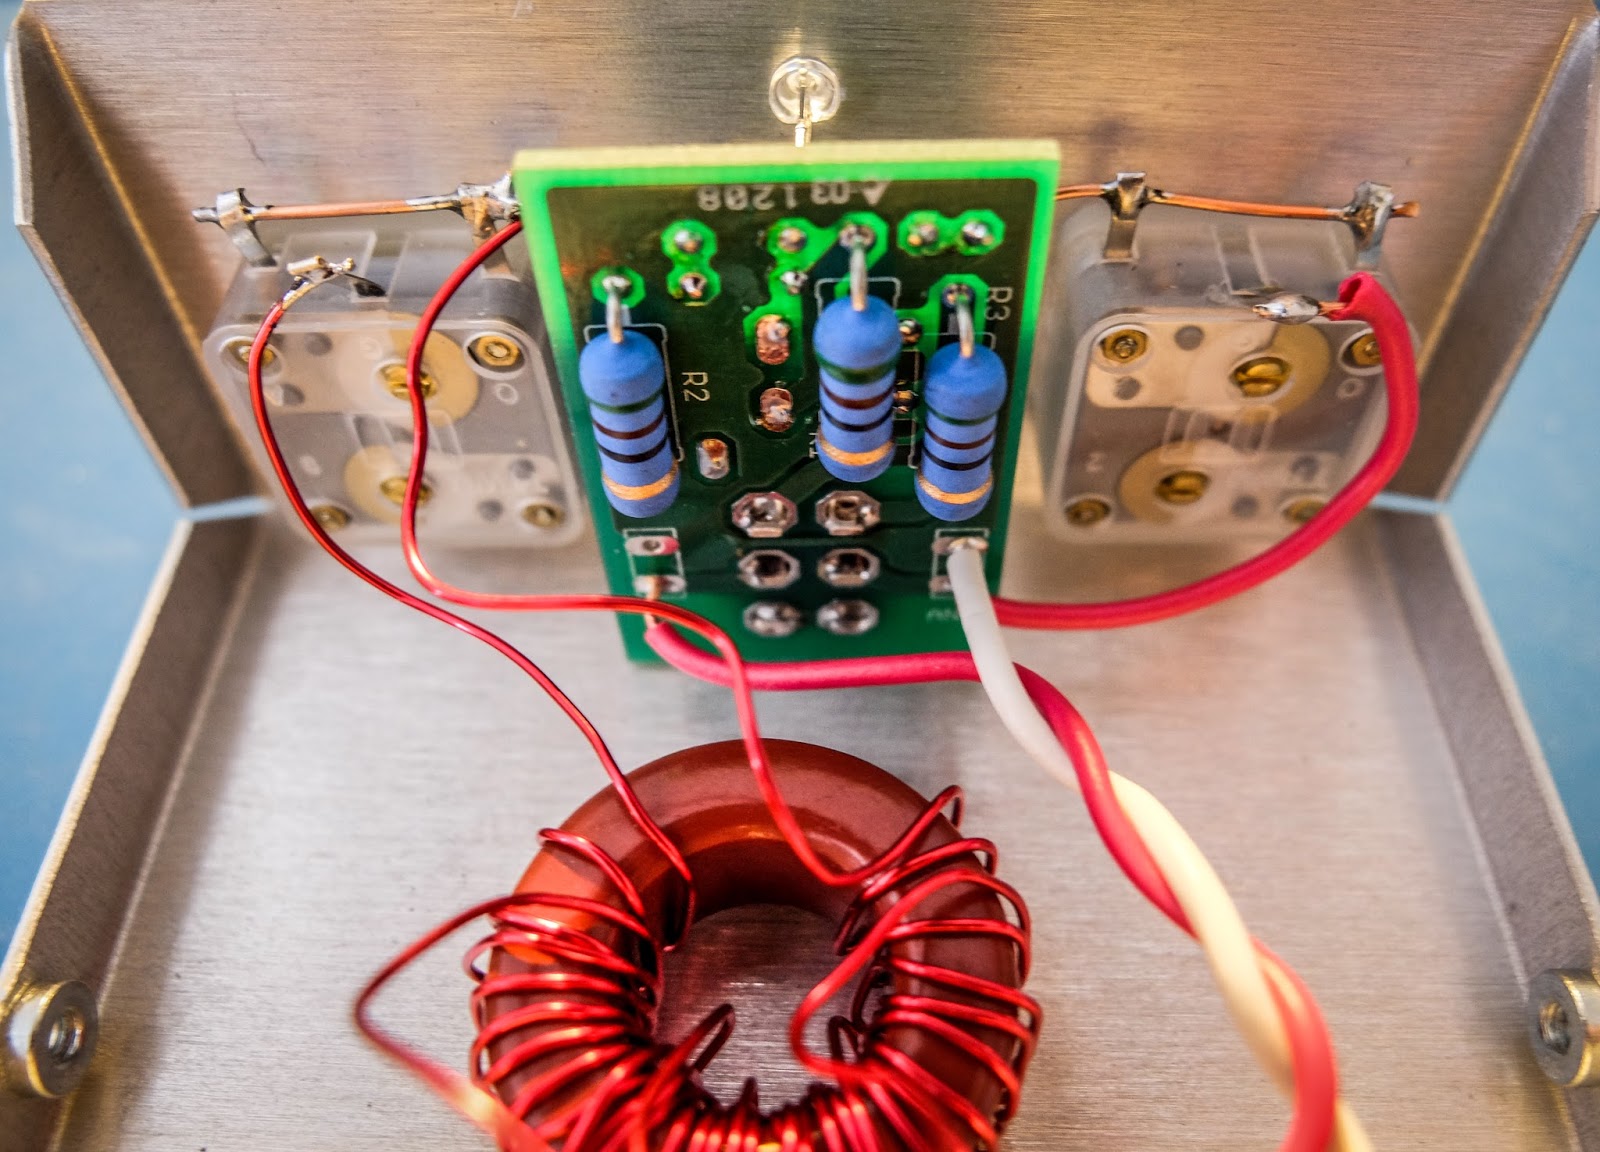
- The main toroid has three sets of windings and they overlap. Pay attention to the instructions about winding them all in the same manner (clockwise or counter clockwise) or you will have to rewind them (yep, I did that too).
- The 3 windings on the main toroid overlap so you won't be able to go back and verify your turns when doing the 2nd and 3rd winding so count carefully (ask me how I know).
- Temporarily attach the SWR bridge to the front panel to get the spacing correct to solder the LED leads.
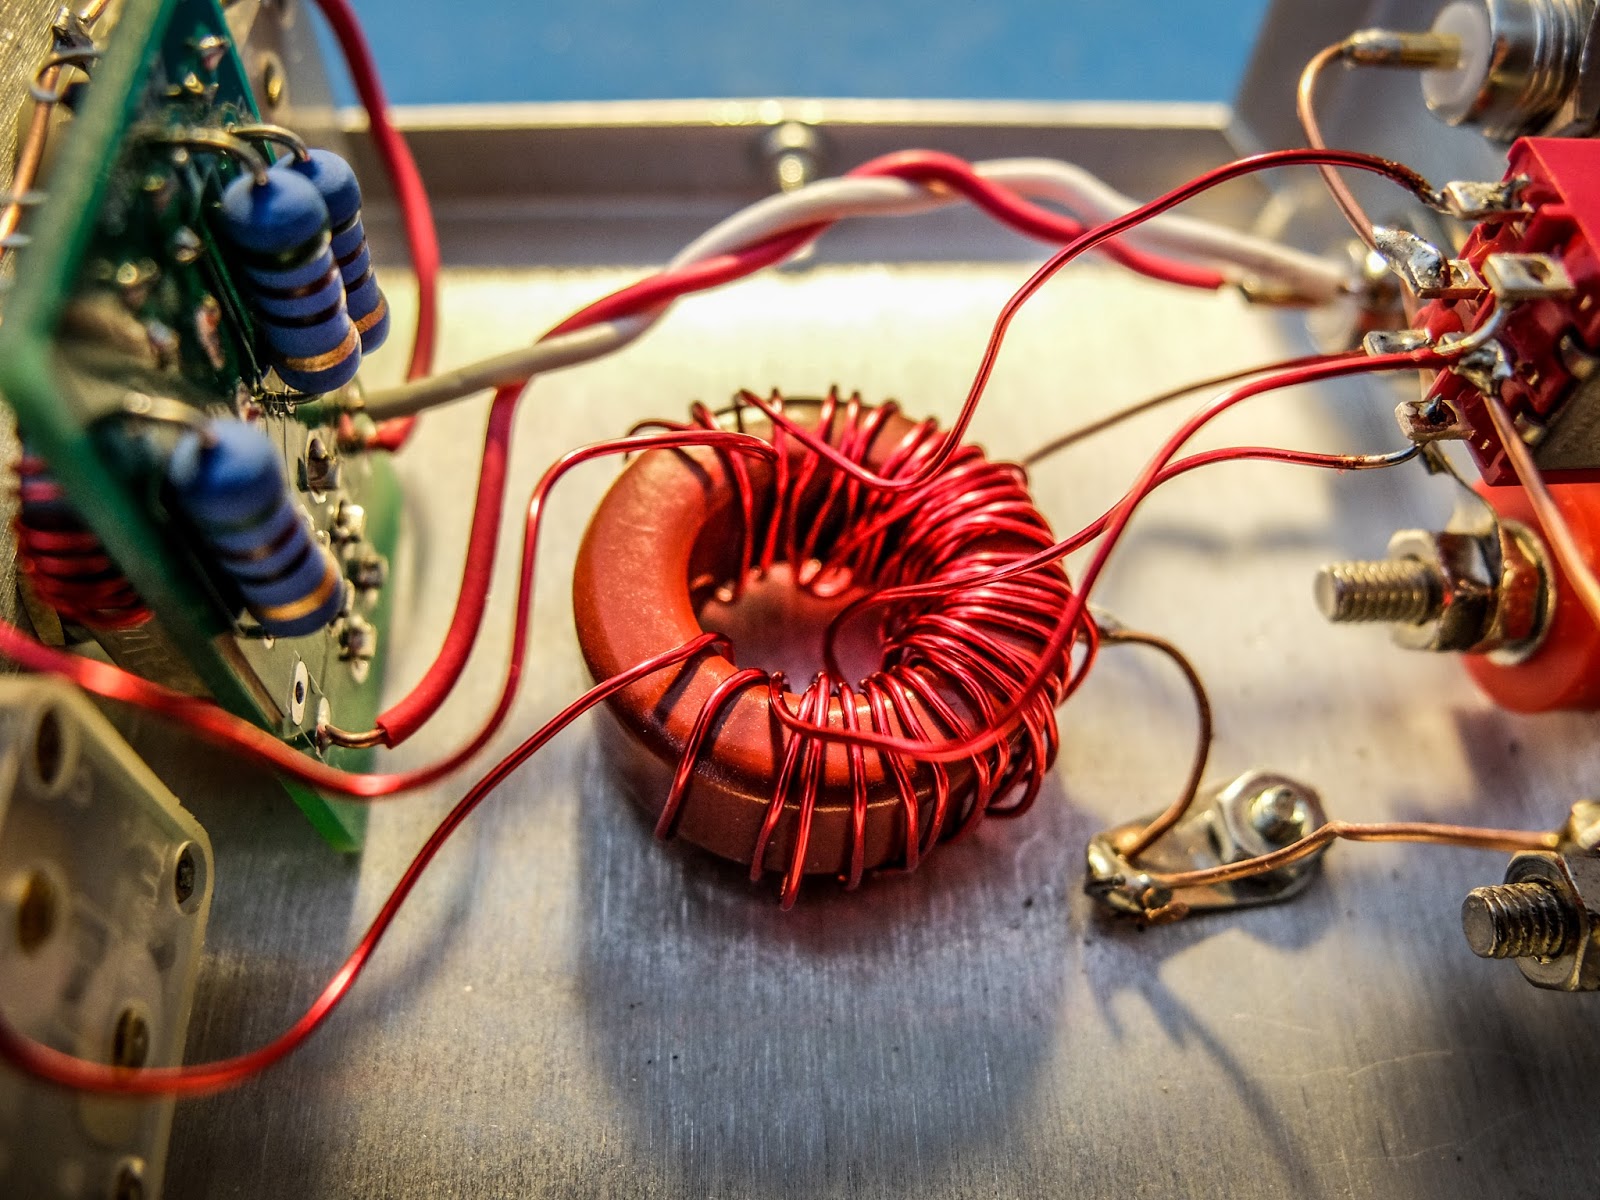 |
| My messy toroid winding... but it's working fine |
Operation
- Connect your transmitter and antenna.
- Choose the appropriate switch in the back for coax or balanced line antenna (Up for coax, Down for balanced line).
- Start with the inductance switch on the back set to low-impedance (Low-Z) because it is the most efficient. It uses the 6 turn secondary rather than the 12.
- Switch the front switch to "Tune"
- Key the transmitter and be sure you are using 5 watts or less
- Turn the "Load" knob first until you see a dimming of the LED then the "Tune" knob to make it go out completely
- The knobs interact so you'll need to go back and forth between them to achieve best match
- If you can't get a good match switch the inductance switch on the back to "High Z" and try again
- Don't apply power too long at a time during tune because the 50 Ohm resistors are heating up in there during the Tune process
- When the LED goes out or gets very dim you have a very good match. Switch to "Operate" and enjoy a well matched antenna
Photos
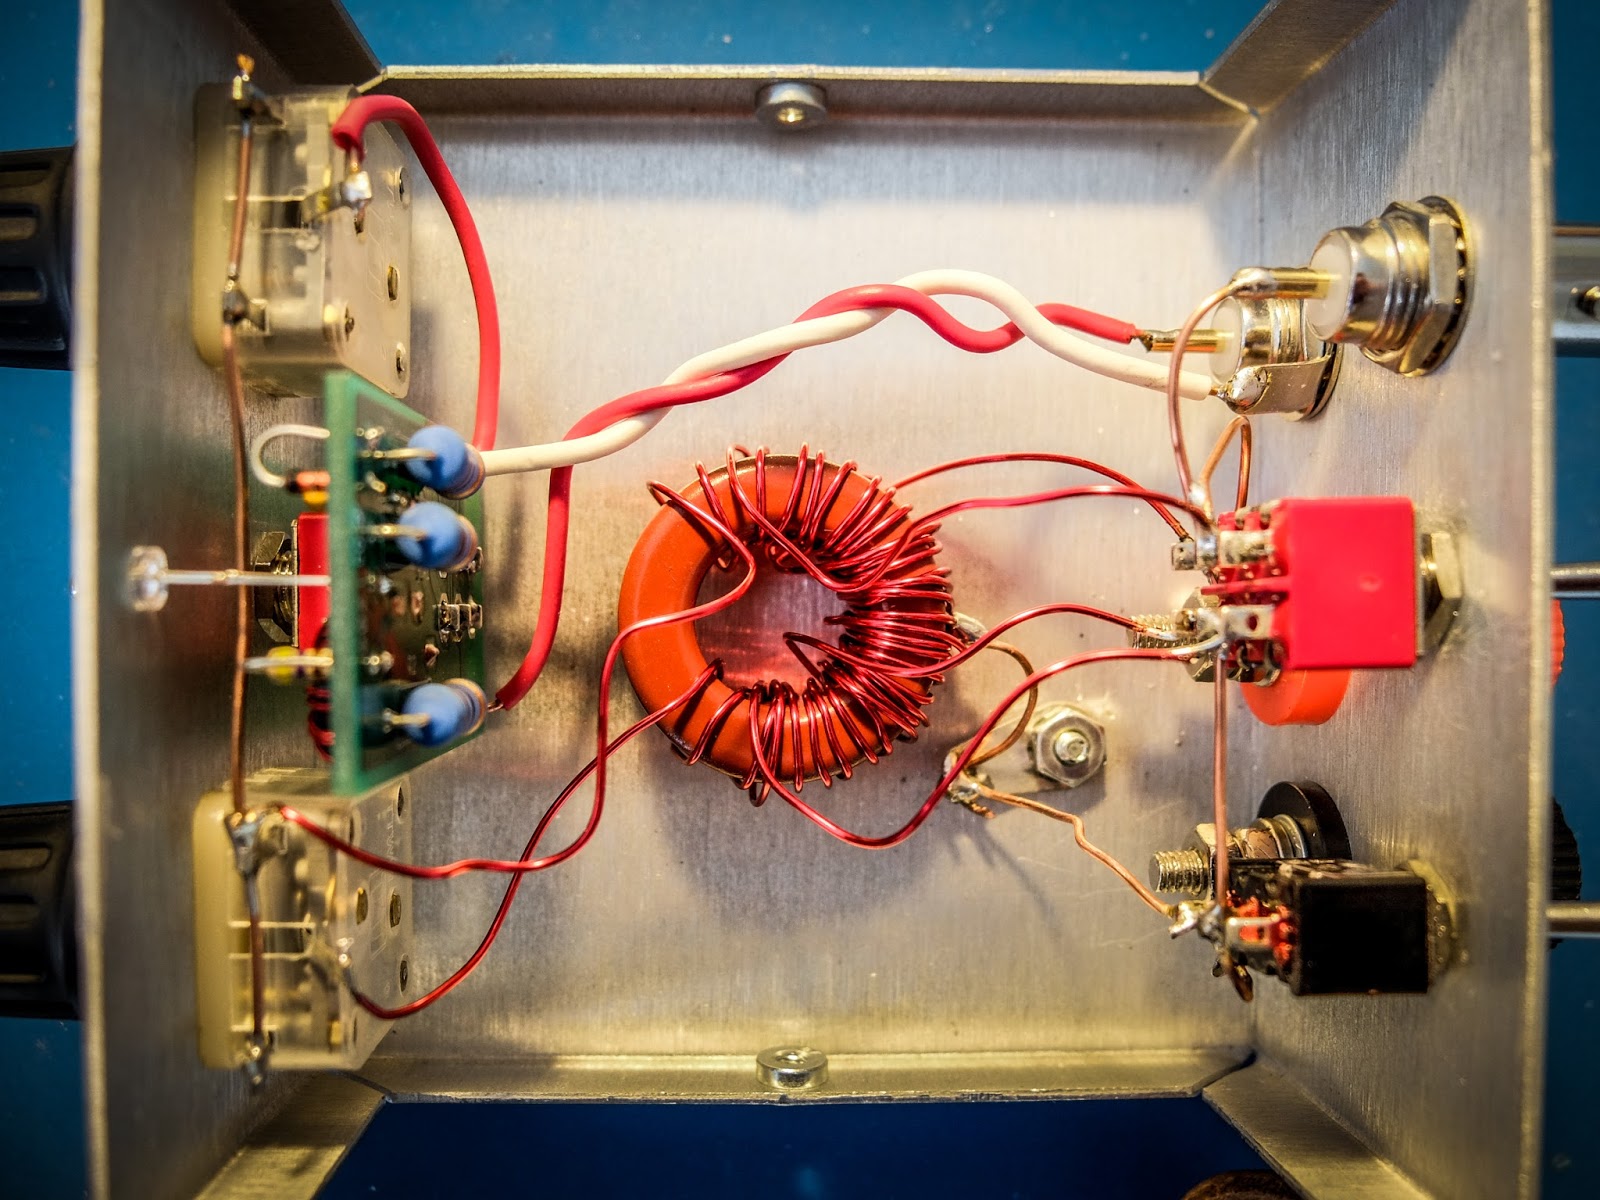 |
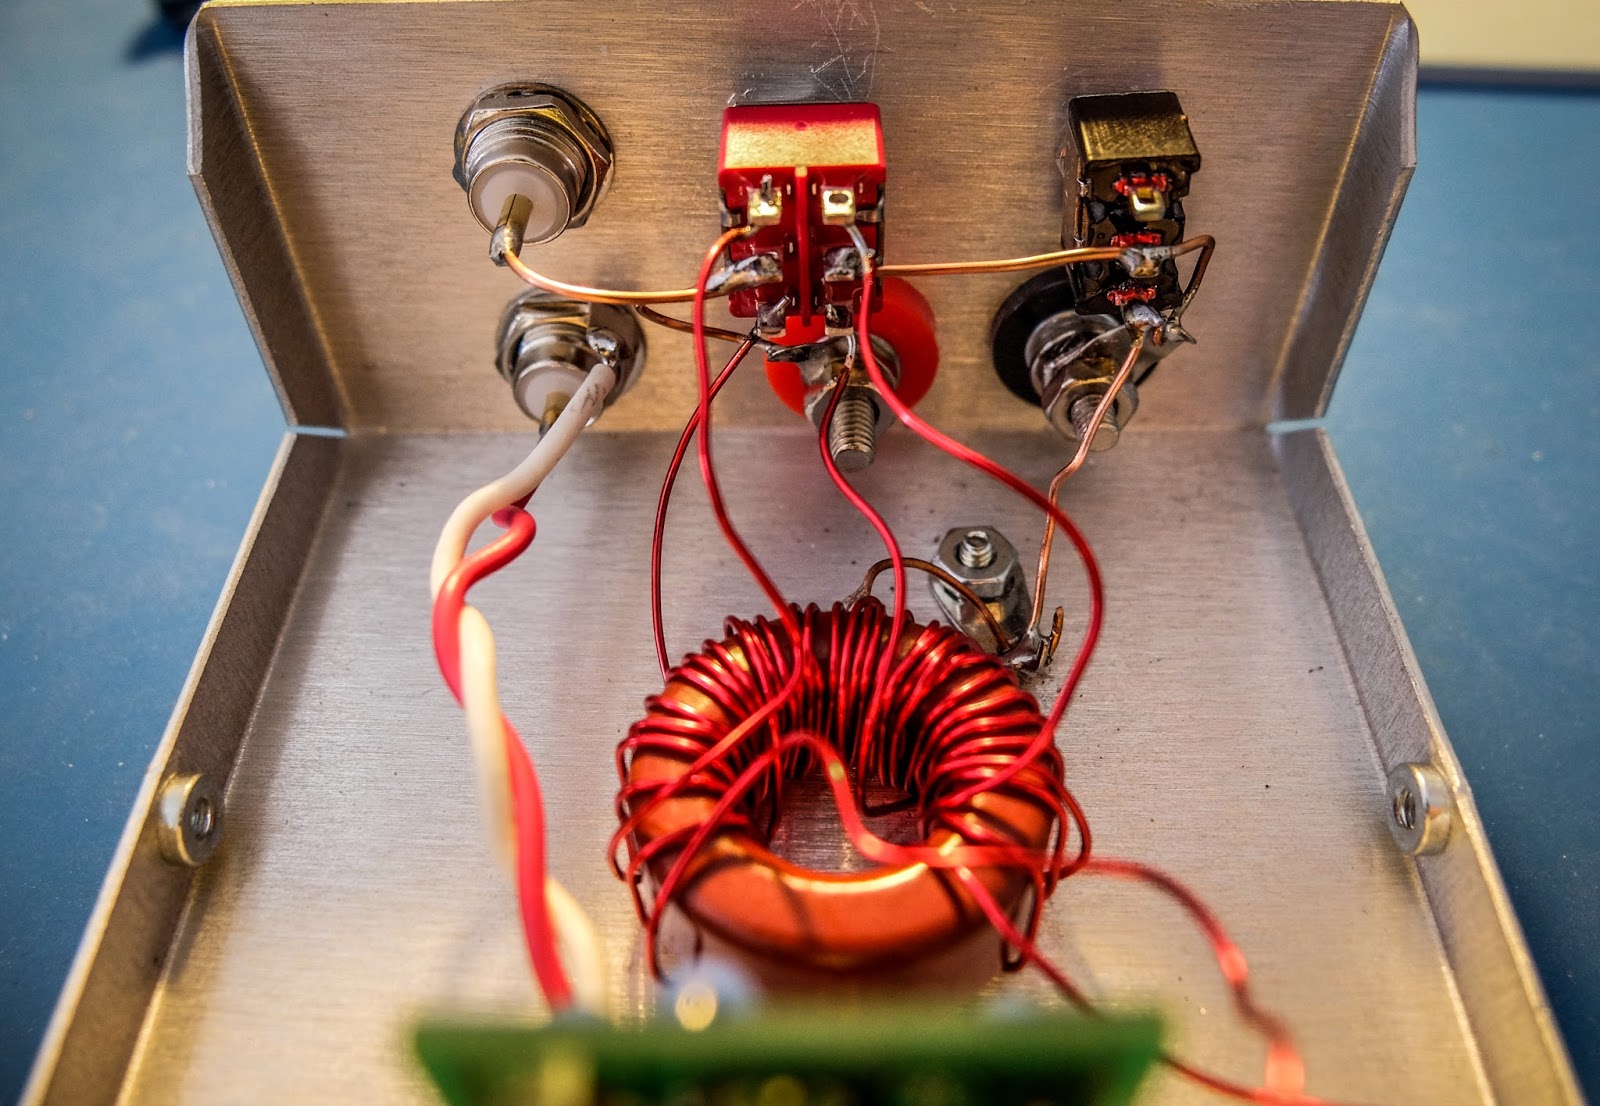
| Result of having to rewind the secondaries made it messier than I'd like |

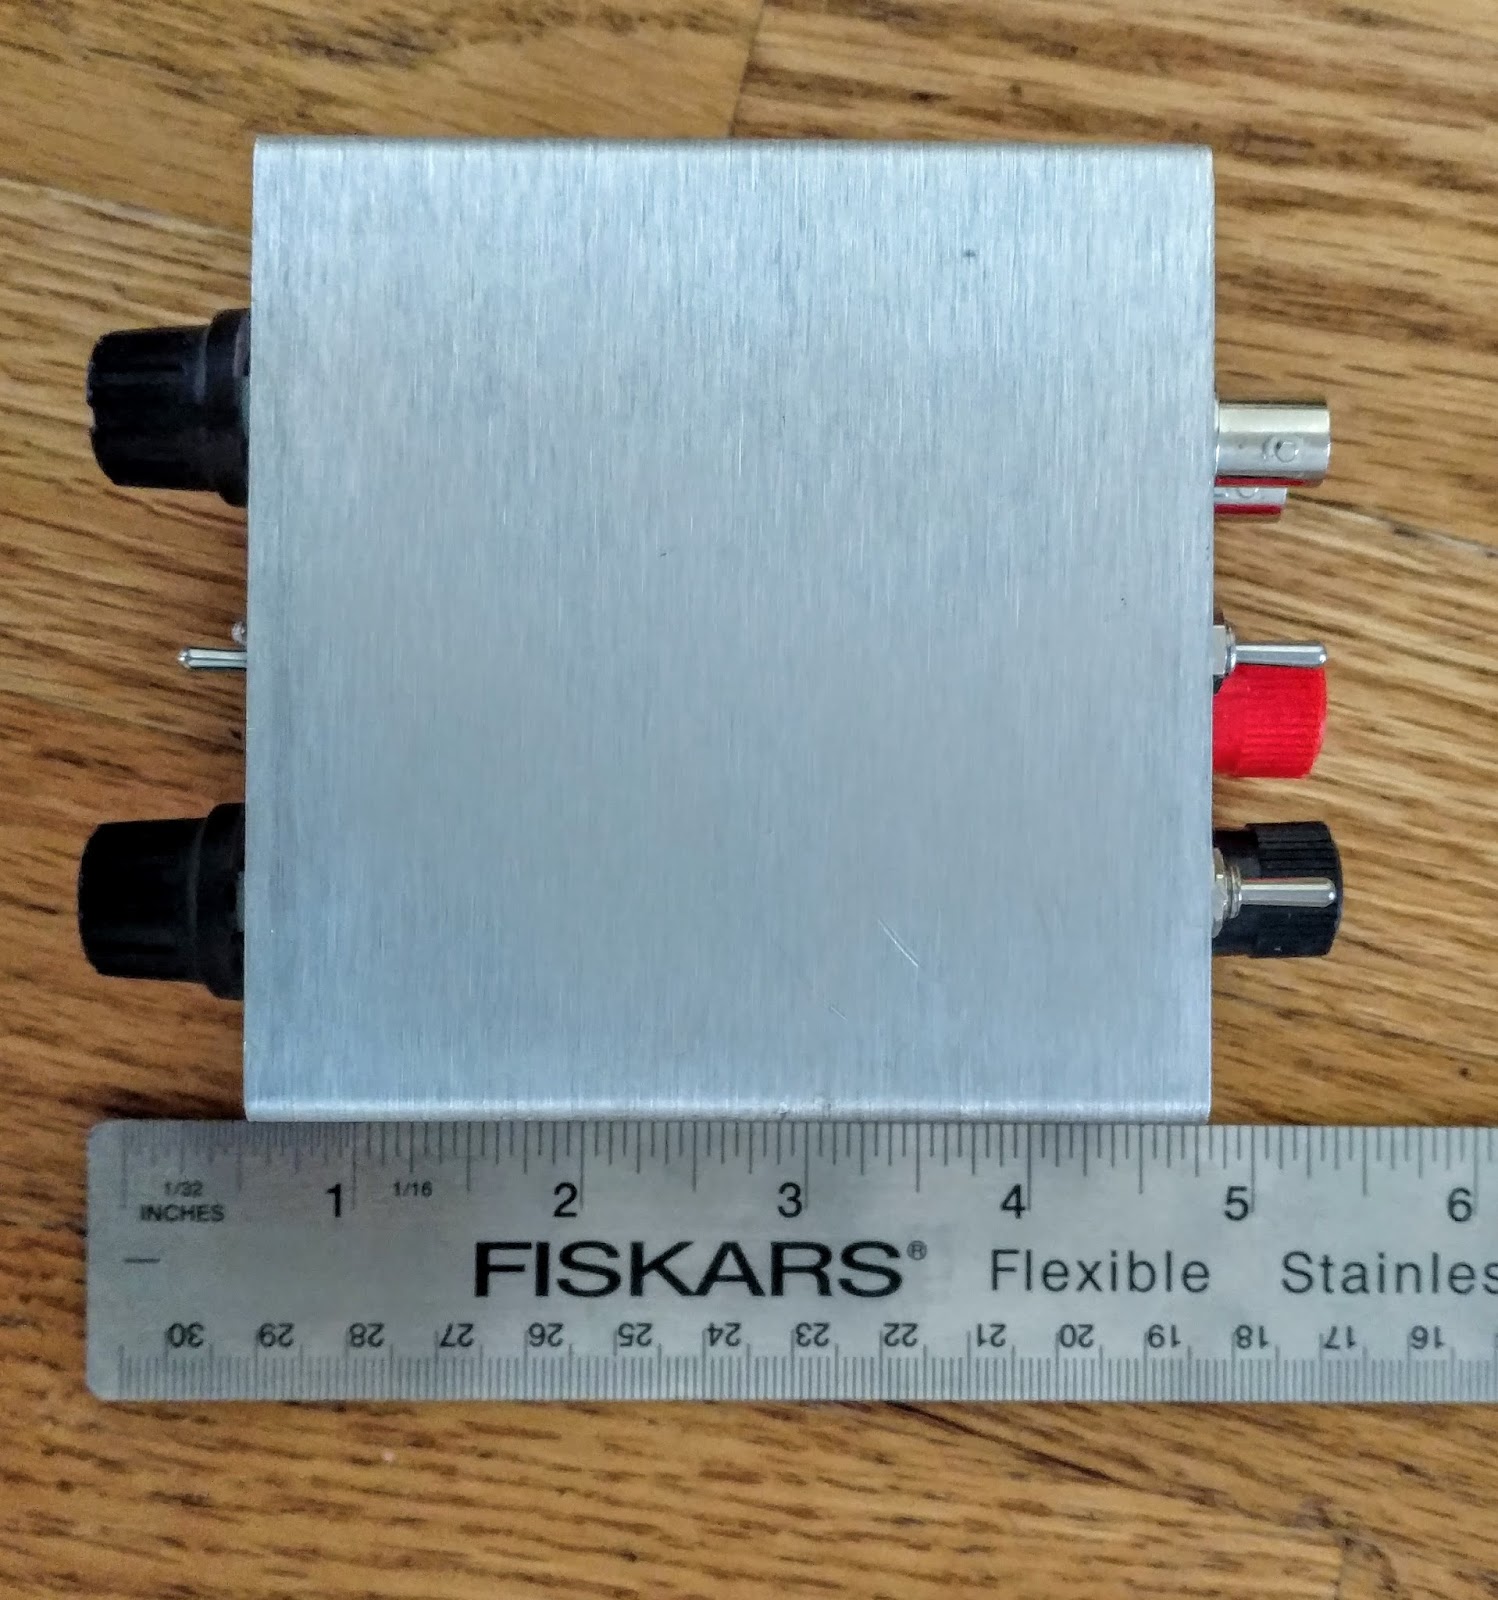
Dimensions
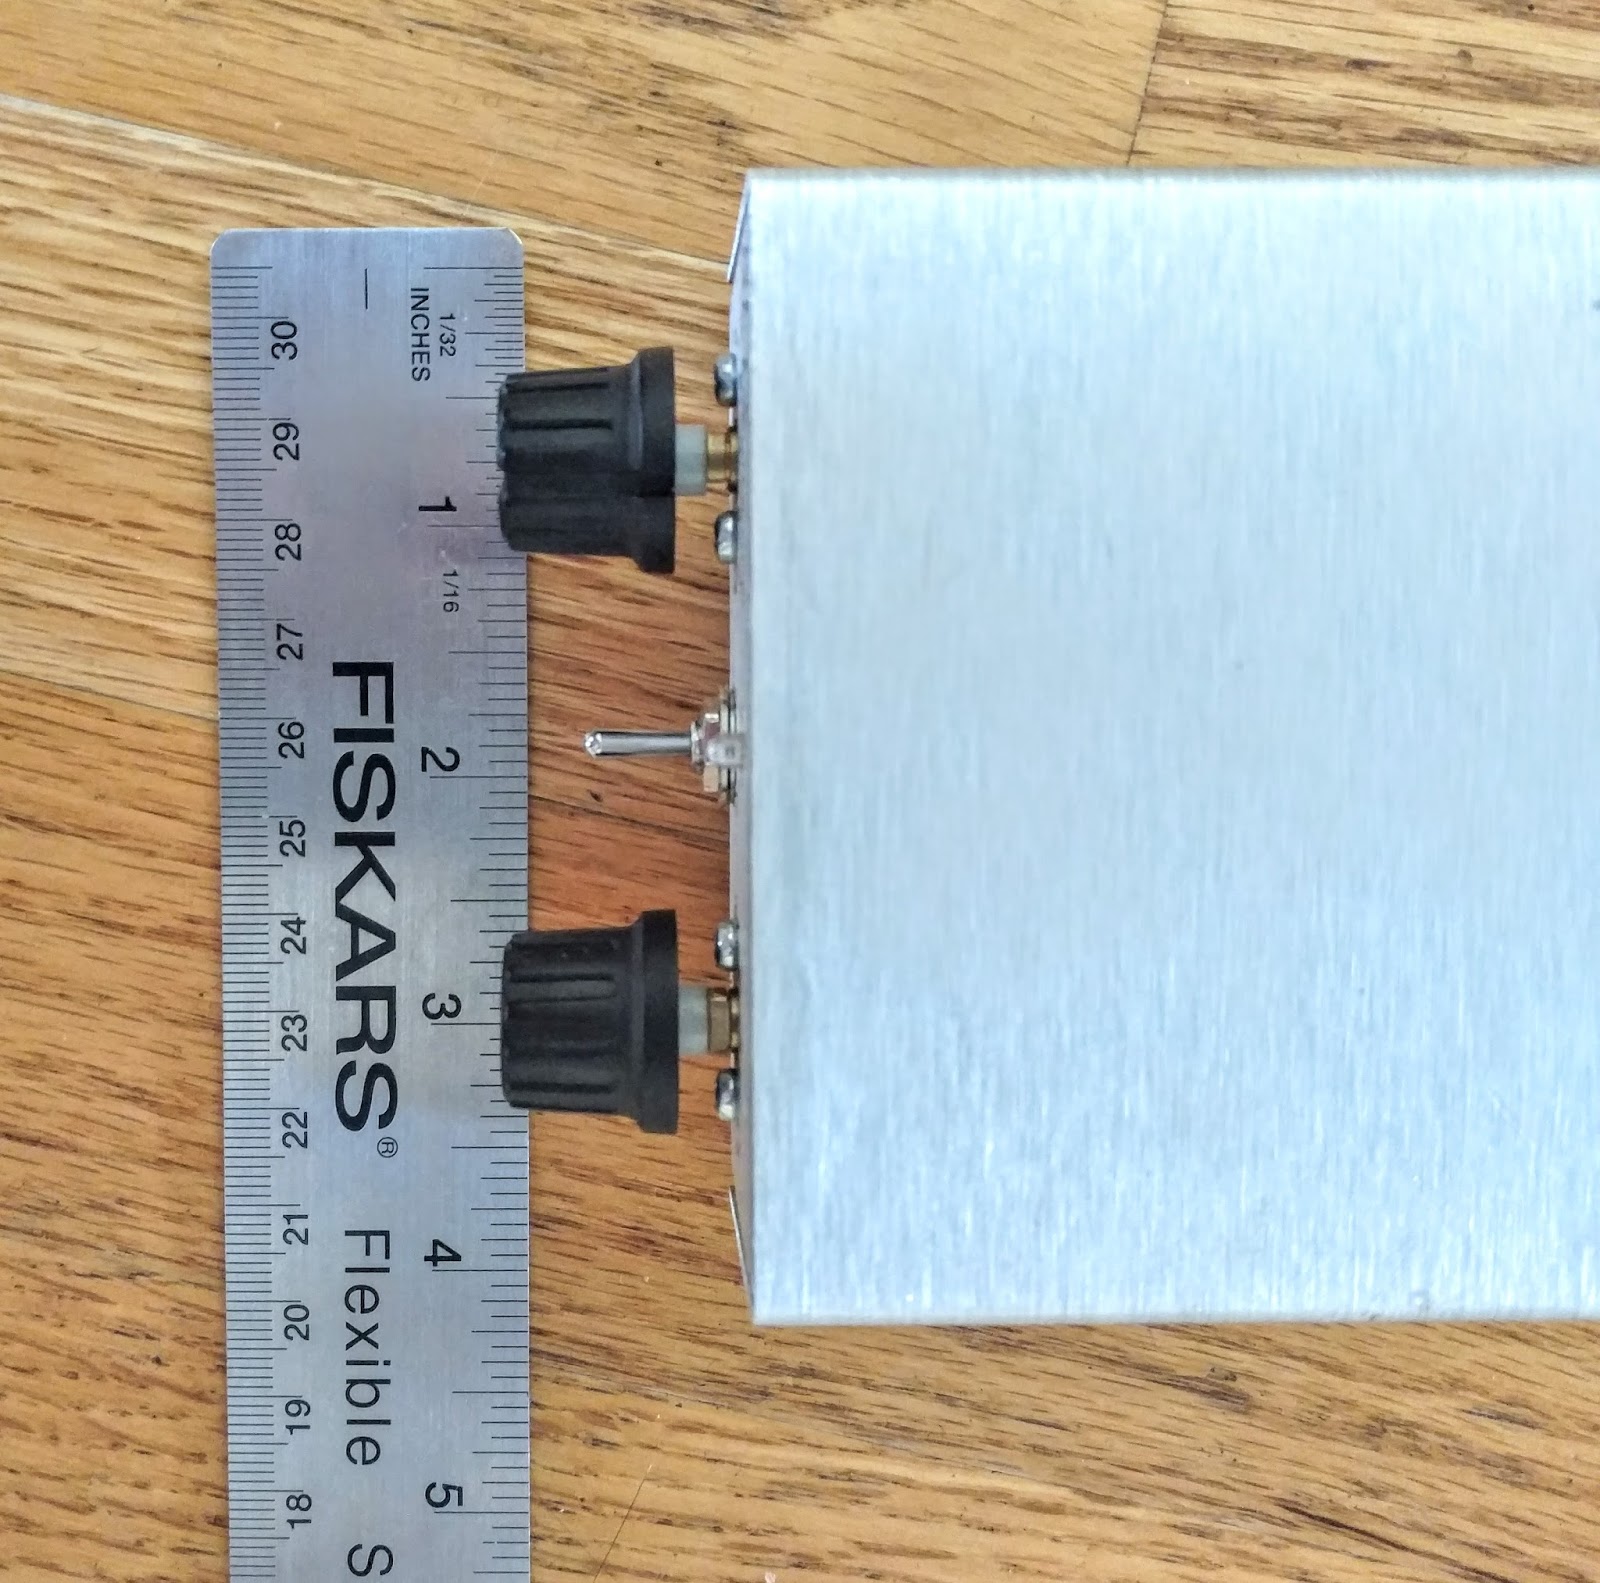
Remarks
Richard Carpenter, AA4OO, is a regular contributor to AmateurRadio.com and writes from North Carolina, USA. Contact him at aa4oo@hamradioqrp.com.
 Ham Radio Deluxe |
 W5SWL Electronics |
 Ham Radio Prep |
 KB3IFH QSL Cards  Hip Ham Shirts  HamRadioAuctions HamRadioAuctions Reliance Antennas Reliance Antennas Enigma Shop Enigma Shop |  morseDX  Ni4L Antennas  R&L Electronics R&L Electronics antennas.us antennas.us Ears to Our World Ears to Our World |
- Matt W1MST, Managing Editor
